Your CalderaWP license entitles you to updates while your license is active. Updates can be accessed using one of two methods:
- By downloading the latest version from your account page and manually uploading it to your site.
- Using the WordPress plugin updater
The first option works, but is not particularly convenient. The second option, using the WordPress plugin updater is the recommended way.
In order to receive updates for your Caldera plugins directly through WordPress you most follow these steps:
- Install and activate the CalderaWP License Manager plugin.
- Activate your license. The code can be found in your account page.
- Update the plugin through the regular WordPress plugin manager or updates admin screens.
If you are not seeing an update that should be available in the WordPress plugin admin screen, check that your license is reporting as active. If your license is active, the act of checking its status in the license manager will cause your site to check ours for updates.
If you believe that your license is already active or should be active on your site, but the license manager does not report it as so, be sure to check your if your site is listed as active in your account page. If so, remove the activation manually and try again.
Using The License Manager Plugin
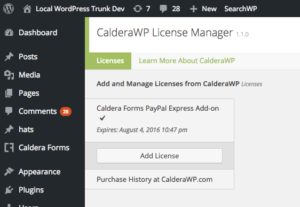
To add a license navigate to the CalderaWP License Manger plugin in the settings menu of the WordPress dashboard. Then follow these three steps:
Click the add license button, this will bring up a list of all CalderaWP plugins that you have activate. Select the plugin you wish to activate.
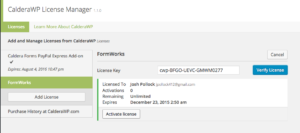
Enter your license key and click the blue “Verify License” button. If your license is active, and you have activations remaining, you will see a “Activate License” button. You must press this button in order to receive support.
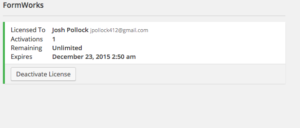
You should now see a green “success” indication on your license status. In addition you should see a “Deactivate License” button — use this button to disable update checks on this site.


