
There’s a lot of form plugins out there, so we’re glad that you chose Caldera Forms (if you haven’t yet, click here to add it to your cart). With remarkable power at your fingertips – we don’t put key features like multi-page, conditional logic or mobile-responsiveness behind paywalls – we think you made the right choice, and hopefully you will soon agree. First, let’s get you started: in this article, you will learn how to install WordPress plugins like Caldera Forms and its add-ons.
Install WordPress Plugins Using The Uploader
Whenever you download a Caldera Forms product, you will receive a .zip file. There is no need to unzip this file. You will upload this file directly to the WordPress plugin installer.
NOTE: If you purchased a Caldera Forms Pro subscription, your purchase will be a collection of plugin files. You will install and activate each one separately.
Get Your Plugin Files
If you made any purchase, free or paid, you will have received an email that has links to your downloadable files.
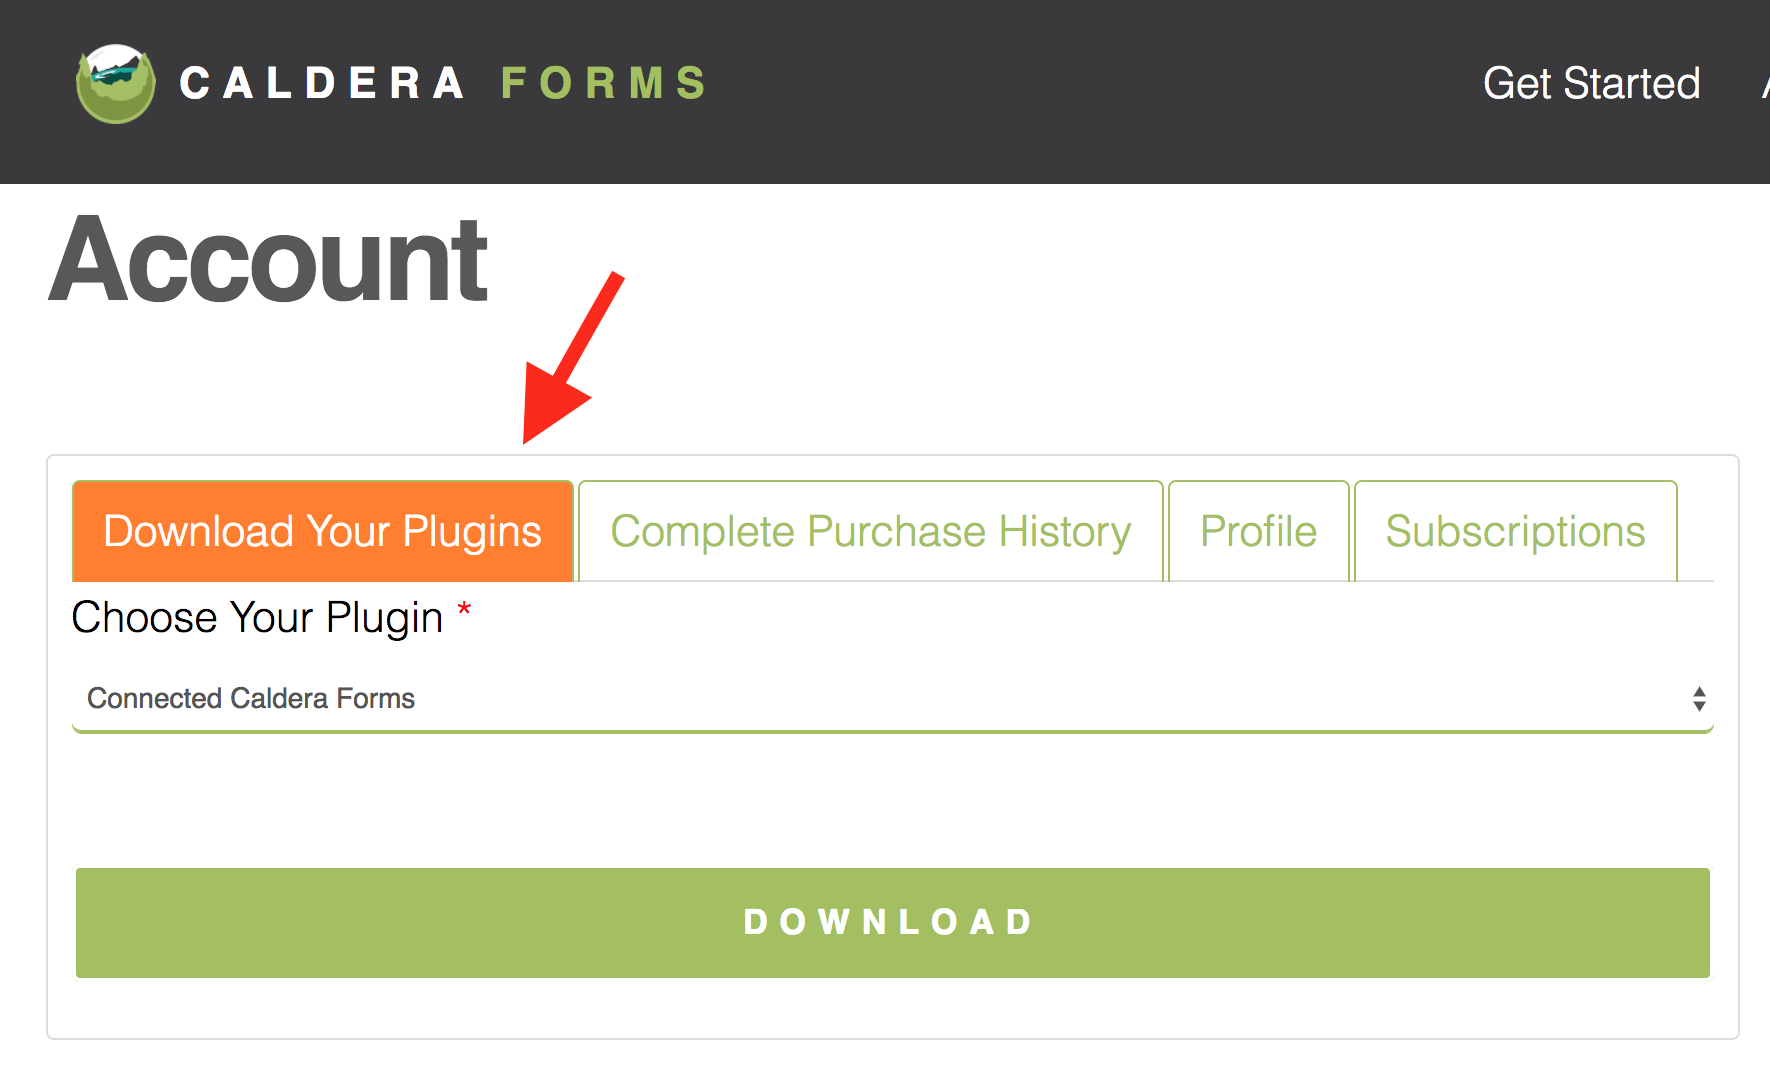
If for some reason you cannot access this email, you can also download your plugin files from your account. Simply log in to your account at http://www.calderaforms.com/account, and select the “Download Your Plugins” tab.
Upload Your Plugin Files
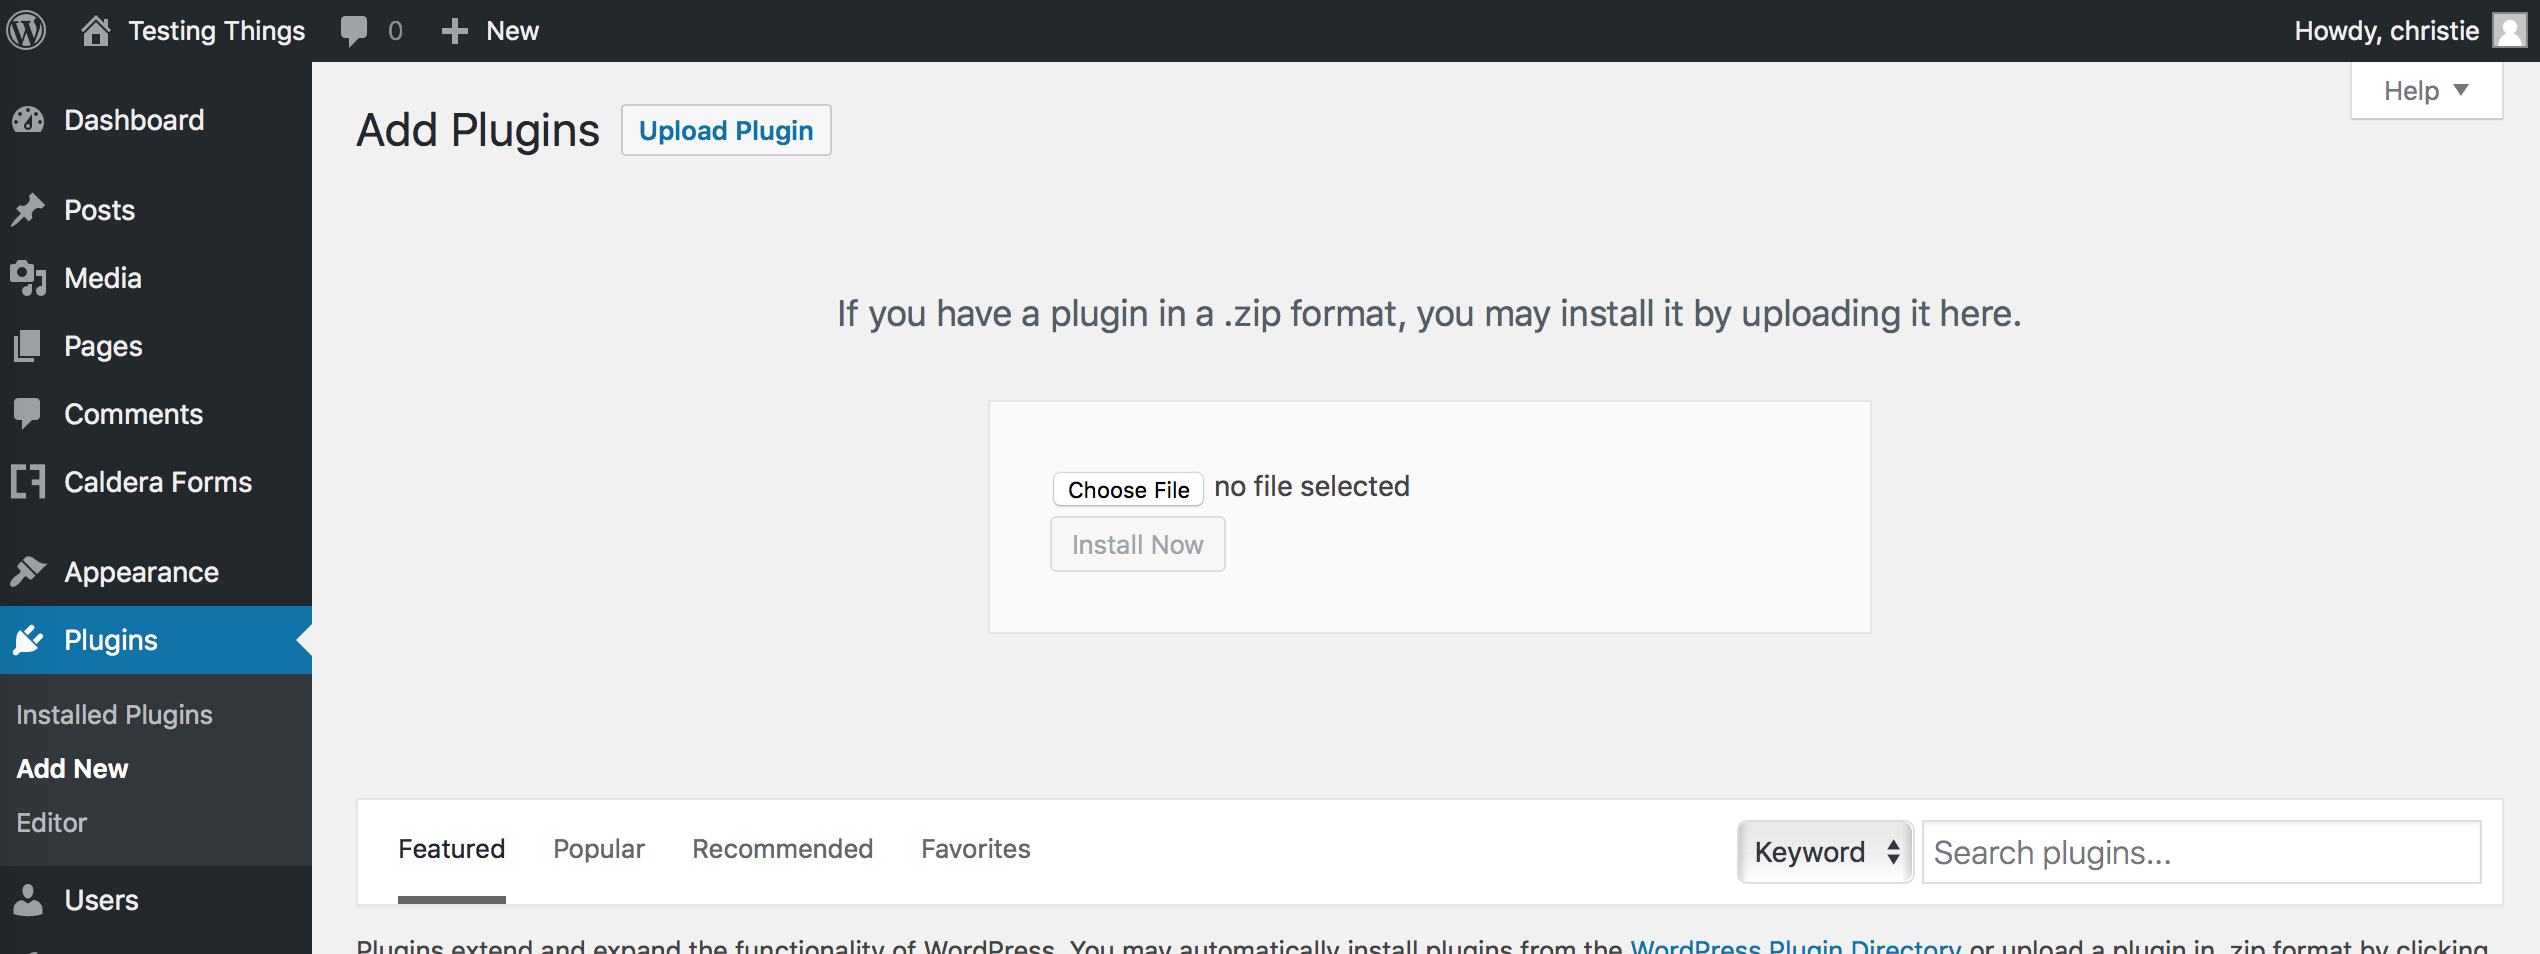
Once you have your required .zip files, use the WordPress dashboard to navigate to Plugins > Add New. Here, you will select “Upload Plugin.”
After installation is complete, select “Activate.” Your plugin is now available for use on your WordPress website.
Next, use this Getting Started guide to learn how to create your first Caldera Form.