
The Caldera Forms Stripe add-on lets you collect payments from Credit Cards using Stripe. Payments can be one time charges or subscription plans and supports SCA regulations.
Getting Ready To Accept Payments Using Stripe
This add-on is installed like any other WordPress plugin. Once it is installed, and activated via the WordPress plugin admin, you will be able to process payments by adding this processor to your forms.
Make sure you’ve signed up for Stripe. This processor will function properly if your account is in “test mode,” but to accept real payments, your account must be active.
Before adding the Stripe processor to a form, you must have a hidden field or a calculation field to your form, as well as an email field. Your hidden field or calculation field will hold the total amount to be charged to the user.
Adding & Configuring The Processor
In the Caldera Forms editor, click the “Processors” link. Then click the “Add Processor” button on the left side of your screen. From the modal that appears, select the Stripe Processor. If it is not listed then please check that the plugin is active and your license has been validated.
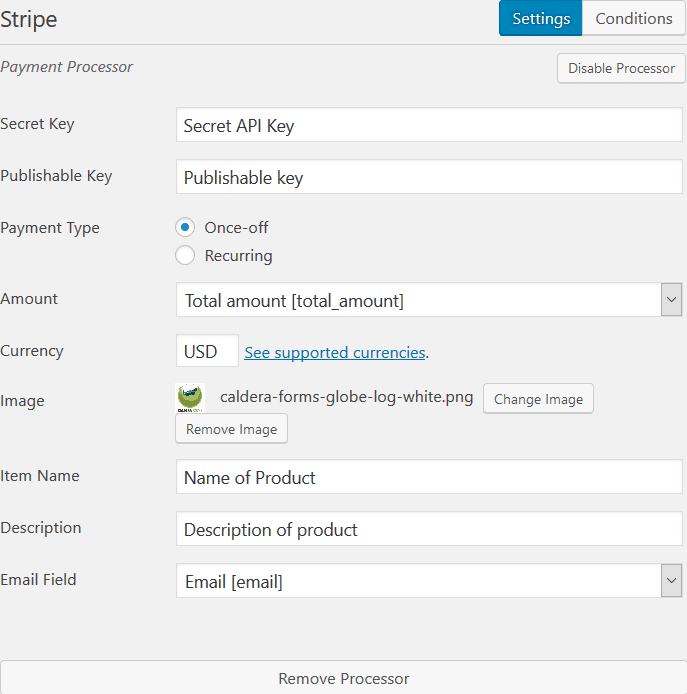
Once you have added the processor, in the “Amount” option set which field from your form you wish to use for the total charge. Then in the “Email Field” option set which field from your form you wish to use for the user’s email address.
Next you will need to enter your “secret key” and “publishable key” from your Stripe account. You can access these from the Stripe dashboard. For more information on how to find these keys, see the relevant Stripe documentation.

Once you have entered those values, finish up by selecting your currency, as well as the item description, and name.
When using the Stripe processor, the credit card fields are entered in a checkout page provided by Stripe, not into Caldera Forms fields. You can not use a Caldera Forms credit card field with the Stripe processor.
Magic Tags
After a payment is processed, information returned from Stripe ID can be saved to hidden fields of your field or added to the email notification, using magic tags. The Stripe processor adds the following magic tags:
- {stripe:ID} – Transaction ID
- {stripe:Amount} – Amount charged
- {stripe:Created} – Transaction time and date
- {stripe:Currency} – The currency used for the charge.
For subscription plans you also have:
- {stripe:Plan} – Plan name
- {stripe:Interval} -Billing interval
- {stripe:subscription_id} -Subscription ID
**Note: the Stripe process is not compatible with File fields at the moment