Too often, when creating a WordPress site, designers neglect the contact us page. After spending days and days contemplating every element in the homepage, a lot of designers neglect the ‘Contact Us’ page. They simply slap on a generic form, press publish and forget about it.
If you actually examined it, you would find that the contact page is one of the most visited pages on your website. More often than none it is actually the most visited page altogether. Hubspot named the contact page one of the 4 most important pages on a website.
Bad “Contact Us” pages can lead to your clients not getting the proper support. It can also lead to your potential clients getting the wrong impression about your service, and may cause a list of other negative effects.
This is why I wanted to show you a step by step guide on how to create an effective contact page on your website. You don’t have to incorporate each and every point I make in your site, but investing time on improving your contact us page will surely improve your website visitor’s experience. It will also help increase your site’s conversion rate.
In this article I will show how to build the contact page using two WordPress plugins: Caldera Forms for the contact form, and Elementor for the page design. Here are the steps you need to go over to create a better contact page.
Get Inspiration From Other Contact Pages
I love to get inspired by different contact page layouts. For example, I love Atlassian’s bottom section on their contact page, which displays the pictures of the founders, with the inviting heading: “Yes it’s true. You can contact our CEOs directly.” It’s even more impressive knowing that the company has over 1,400 employees.
Another resource for inspiration is this recent post on Hubspot, which depicts 12 of the best contact pages. This post can help you start your first brainstorming ideas on designing your own contact page.
Create a Basic Prototype of the Page
We won’t go into too much detail for this step, because different designers have their own preference for creating the page prototype. It could be done with a pen and paper, with Photoshop, or with an online prototyping tool like Invision, UXpin or Balsamiq.
Edit the Contact Page With Elementor
After installing the Elementor plugin, it’s time to create a new page on your WordPress site, and edit it with Elementor. Even though a contact us page is usually short, using a page builder to build it is still useful in order to create the right layout and design.
Add the Hero Scene
The first section we will be adding is a two column section. This will contain the main heading and sub heading on the left, and the contact form on the right. For this section we will also set a nice background image. Our heading will consist of our main message to our visitor, and it’s also a great place to screen out some of the irrelevant inquiries we might get.
Check out how Unbounce does exactly this irrelevant inquiry filtering on their contact page: “Have a question? Need a tip? You can find a host of brilliant articles in our knowledge base. If you can’t find what you’re looking for, we’d be happy to point you in the right direction.”
Create the Form Using Caldera Forms
Now that the page is laid out, the next step is to create a form using Caldera Forms. The form I’m using is a basic form which includes: Name, Phone. Email and Message fields.
Even though this plugin lets you create really intricate conditions and customizations, for this example I’ll be using the most basic form, which is very intuitive to create on Caldera using their drag and drop interface.
Because staying in touch with our audience is crucial for any business, I’ll be using Caldera’s add-in to Mailchimp, allowing me to collect the emails of visitor who contact me to my mailing list. Caldera offers mailing list add-ons to services like MailChimp, Aweber and ConverKit.
Connecting to Mailchimp is a breeze. I add the API key, choose the list, connect its fields to my form’s fields, and that’s it.

Drag and Drop the Caldera Forms Widget
 Now back on the Elementor editor, I drag the Caldera Forms widget onto the page, and choose the form I have just created.
Before going on with the rest of the Contact Us page, I save this page and go to its published version, to test out that the form works. After sending a test email, I make sure it is received in my email account, in Caldera’s entries, and is added successfully to the Mailchimp list.
Add Contact Details
Below this section, I’ll be adding icon boxes, and include the address, phone and email of the company. I will also customize the icons to fit each of these fields.
This section will be comprised of three columns, that are seperated by a grey border seperator. The left icon box will include a home icon, and below the icon box I’ll include a small heading with the full address of the business.
The middle column will include an icon box with a phone icon, and below it a heading with the telephone number.
The right column will include an icon box with an envelope icon, and below the heading with the email address. I’ll set the icon color to the page’s yellow, and choose the same color for the heading below each column. I’ll also center each icon box.
Add A Map
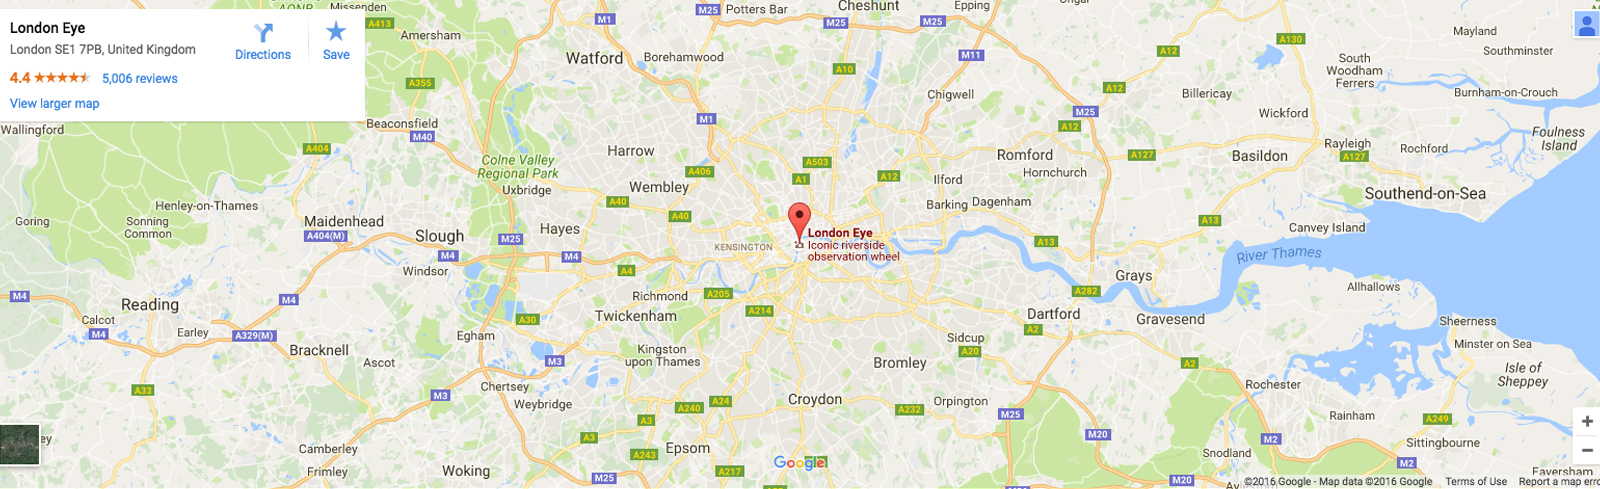 I’ll also attach a map that shows the location of my company. To do so, I’ll add a section and set it as full width. I’ll drag the Google map widget, and write down the address of my business.
You can play around with the zoom level and the height of the map, to make it more custom made. For this example, I will be setting the zoom level at 10 and keep the height at 400. I will also set the Prevent Scroll control to ‘yes’, so the visitor will not be able to scroll the map.
Social Buttons Section
 Finally, I’ll add the social buttons section, set the background color to dark blue, and add the social icons widget. For each new item I add, I need to choose the relevant social profile that will be linked in the page.
For this example, I’ll add the Facebook, Twitter, Google+, Pinterest and Instagram social icons. I’ll also make sure I link all the social icons to the relevant profiles. Now, I’ll go ahead and choose the primary and secondary colors, the border radius to be 50, and center them.
Other Possible Additions
You might want to consider adding other possible additions to the Contact Us page. This could be images of the support team or the CEO, an addition that helps make the contact form more personal. You could also include articles from the press that feature your product, or important posts from your blog. Another option is to promote your main service or product on the contact page, and place a call to action section that will be oriented towards lead generation.
Conclusion
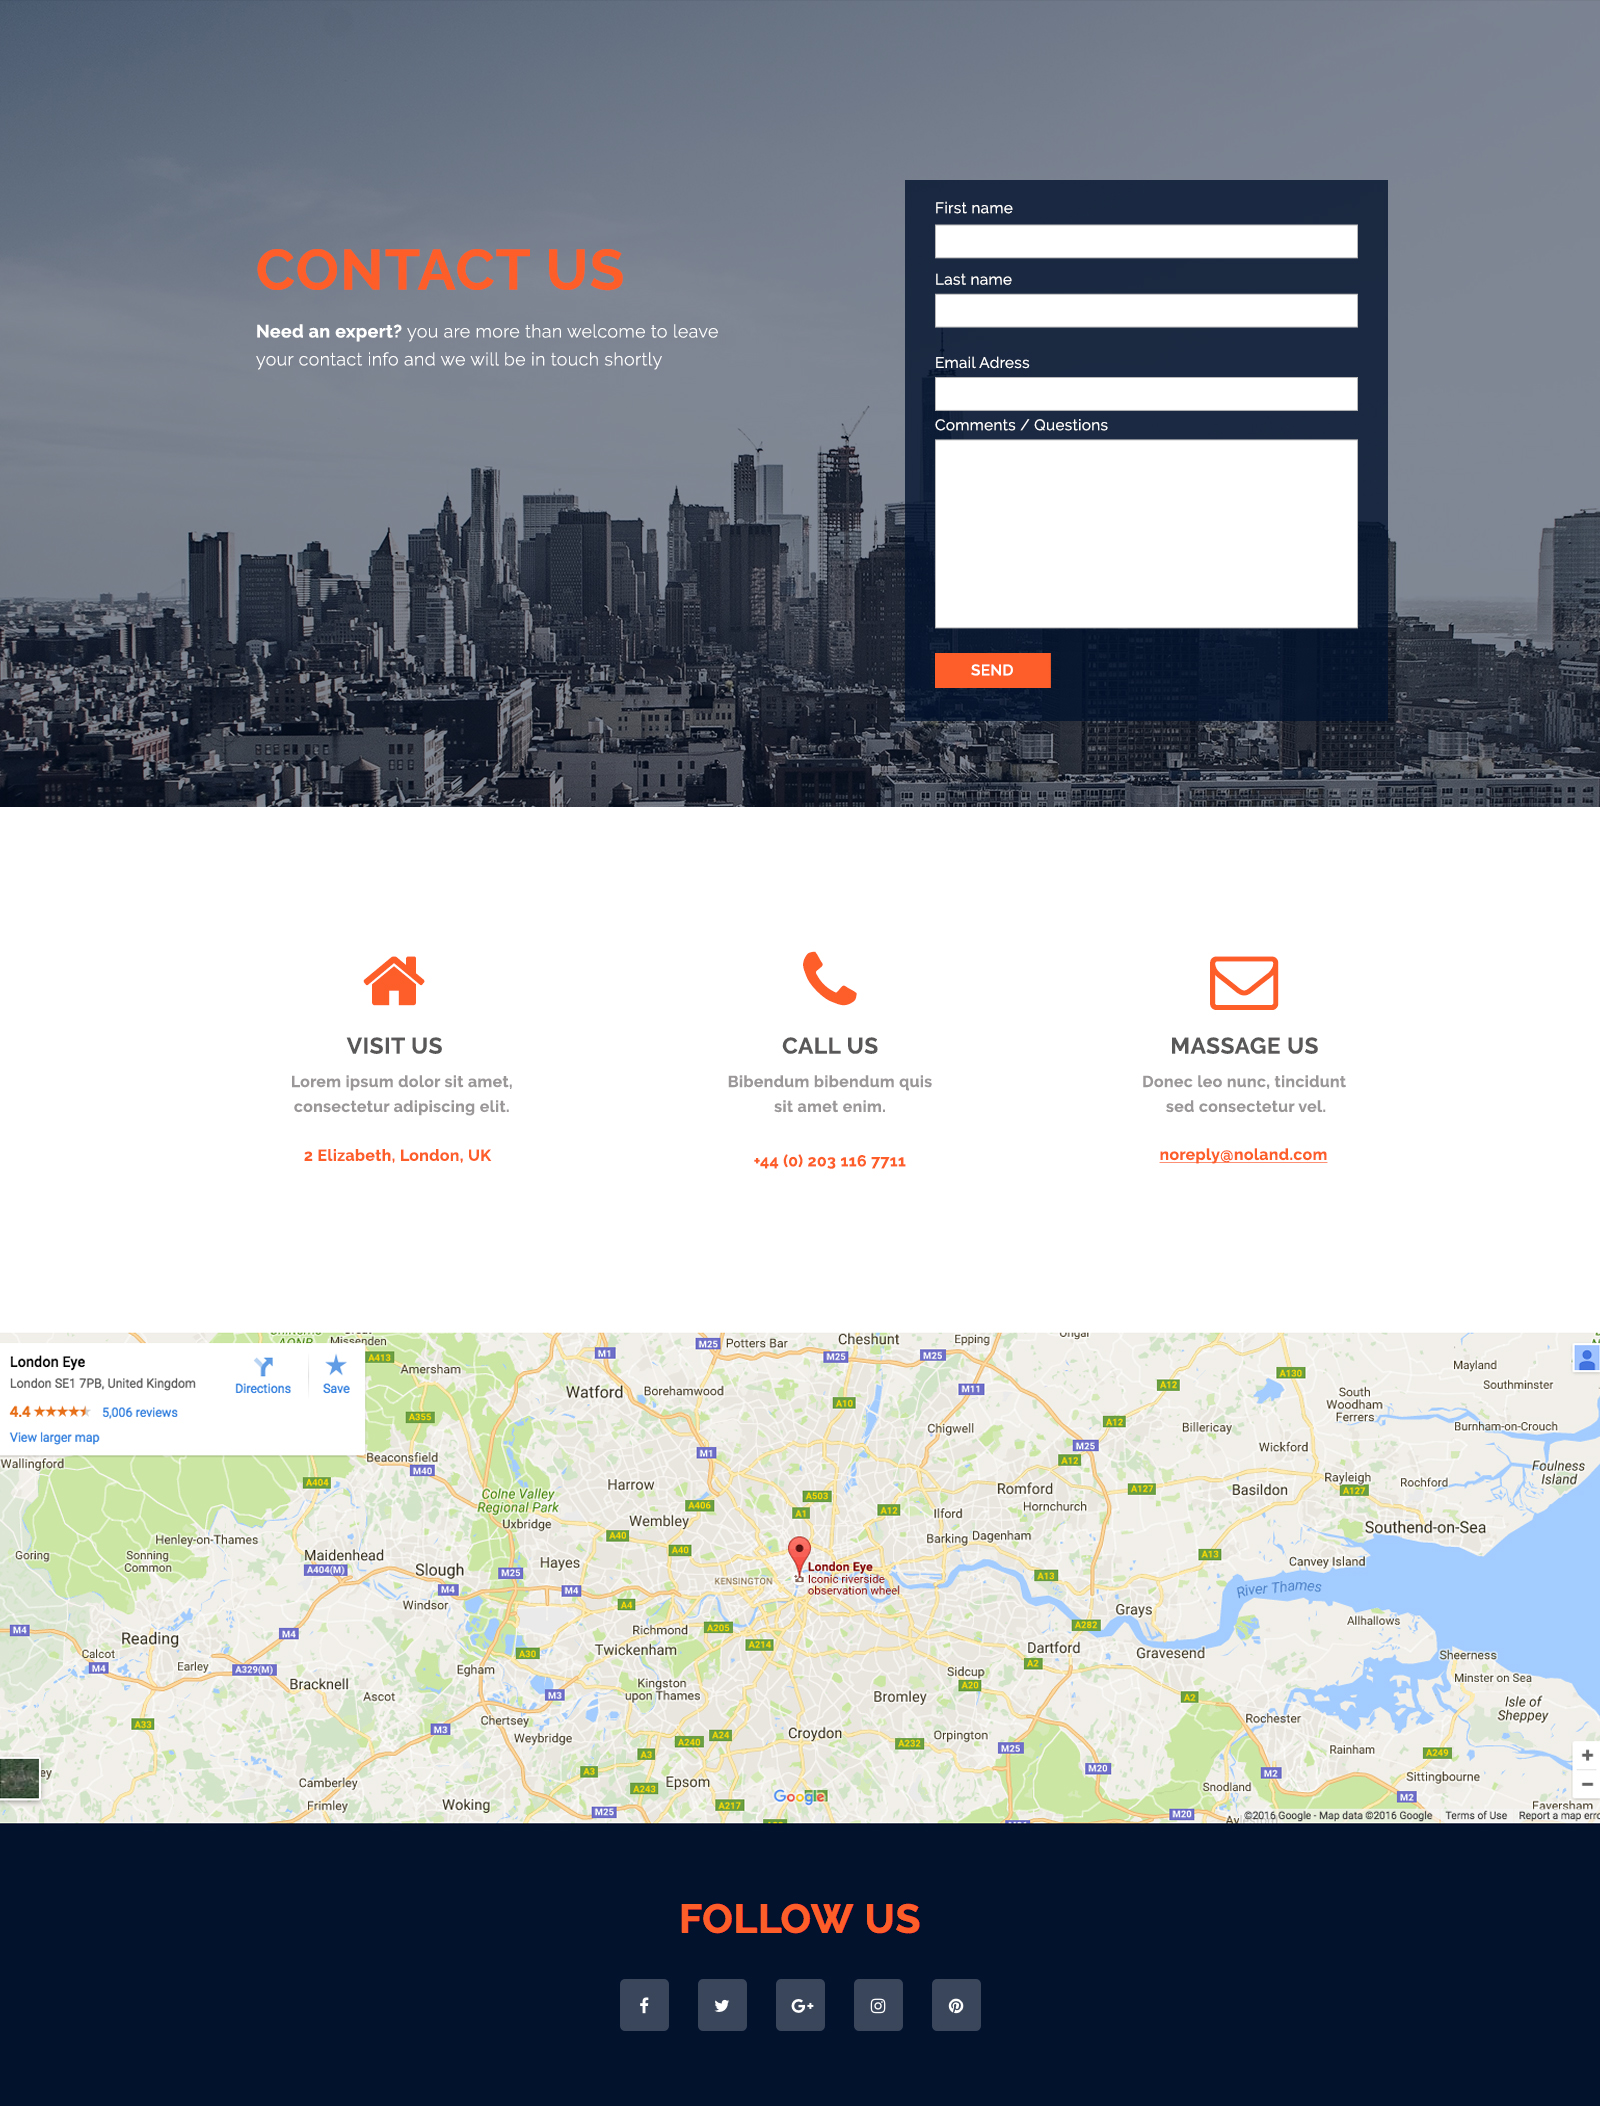
The final Contact Us page I ended up with is rather simple, as all contact pages should be, but it also looks better than most contact pages. This little difference can actually have a great effect on whether you are seen as a professional business by the visitor.
This is what the complete contact page looks like:
One final note on Caldera forms. I have tested many plugins on Elementor page builder, a few were form plugins. I don’t think I’ve come across a plugin with such a seamless integration like Caldera Forms. It works perfectly, and I believe this is because much like Elementor, Caldera is built using the strictest code standards. You can see just how well built a plugin is by how it behaves with other plugins, and by this standard Caldera is certainly a fine example of a well built plugin.
I hope you’ve enjoyed this post, and invite you to comment if you have any questions regarding creating Contact Us pages.
Really impressed with both Caldera Forms and Elementor.
The page design is great, but “massage us” is hilarious. Though if you have a tool that can provide massages via the Internet, you might make a lot of money.
Stop telling the world our secret plans!
I could do with one of those massages round about now to be honest!
How do i style the “send” button?
There are CSS examples on the documentation page for button fields: https://calderaforms.com/doc/button/
Have you looked at the documentation for button fields? There are CSS examples there: https://calderawp.com/doc/button/
Have you looked at the documentation for button fields? There are CSS examples there: https://calderawp.com/doc/button/
Have you looked at the documentation for button fields? There are CSS examples there: https://calderawp.com/doc/button/