
If you’re a healthcare provider or a web professional that works with healthcare clients you’re probably aware that accepting electronic protected health information (E-PHI) over traditional web forms is not HIPAA compliant and could result in you (and/or your client) getting stuck with some pretty hefty fines.
The ability to create HIPAA compliant web forms in WordPress has been highly requested for a very long time and finally, a plugin exists that enables you to do so.
The team at Code Monkeys recently released their HIPAA Compliant Web Forms plugin that enables you to create web forms easily with Caldera Forms and with a simple check of a checkbox make it fully encrypted, secure and HIPAA compliant. No need for a special expensive HIPAA compliant web host, no expensive P2P email solution needed & no custom programming required.
Setup:
The plugin replaces the traditional submit button with its own as well as appends an optional “drag ‘n draw” signature field, a HIPAA privacy agreement checkbox and a HIPAA compliant badge to the form. Installation and setup is simple and even includes the business associates agreement (BAA) required by HIPAA.
Simply install Caldera Forms and create a form just like you would any other form just make sure that you have a first name, last name, phone and email field and the appropriate slugs added to them (first_name, last_name, phone, email). No need to add a submit button as the default submit button will be removed anyway.
Next, install the HIPAA Compliant Web Forms plugin, purchase a subscription, add your license key & sign the BAA agreement. Once the BAA is signed select Caldera Forms as your form builder in the settings tab, click on the form settings tab and check the box next to the form you want to be HIPAA compliant.
At this point the submit button, privacy agreement & HIPAA compliant badge will be appended to your form and ready to take submissions.
There are a few additional options you can choose to set to further fit your needs such as setting specific forms to only be viewable by specific doctors/users with the HIPAA role, adding a select field to filter by office location if you have multiple locations and a select field to allow patients to select a specific doctor from the form.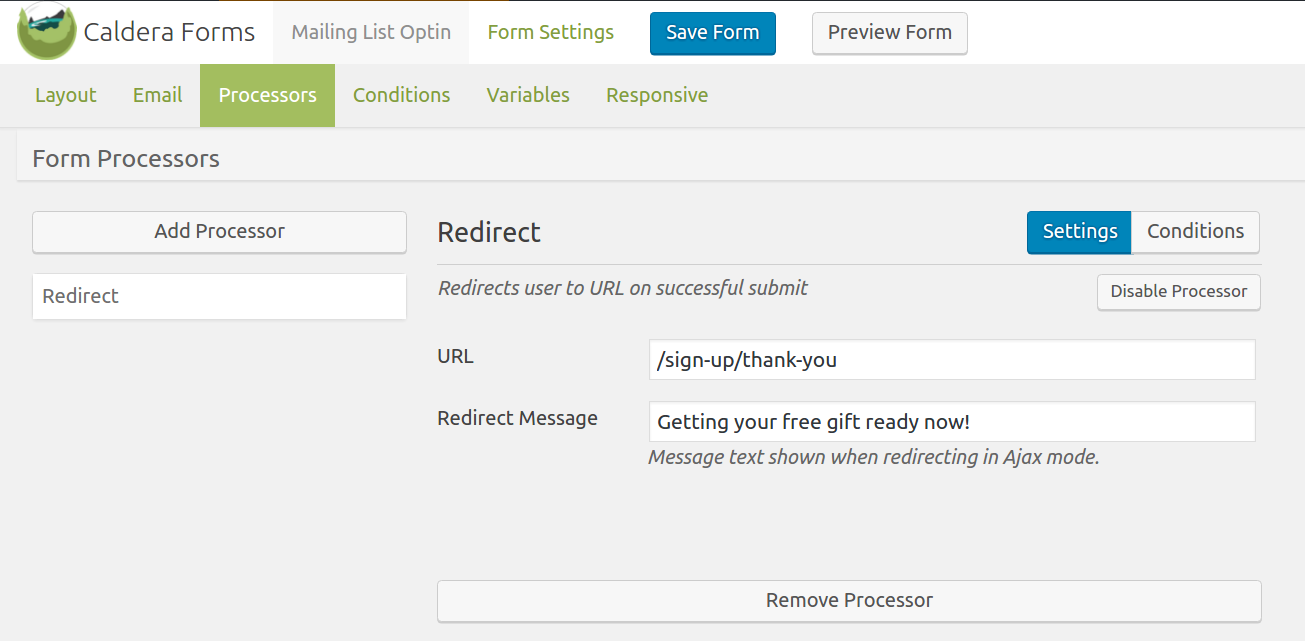
You also have the ability to set either a custom “thank you” message or have the form redirect to a custom “thank you” page after submission.
Accessing Submitted Forms:
When a form is submitted it gets encrypted and sent through the HIPAA Web Forms API to be stored on an external HIPAA compliant database solution. The form data is never stored on your hosting server which allows you to host your website anywhere you want. The plugin does require that you have SSL enabled on your website but this is something every website should be doing now anyway.
To access your submitted forms you simply log into the WordPress admin dashboard and go to the HIPAA Web Forms interface. Once you load the HIPAA Web Forms interface a record is logged with your user ID along with a time stamp. The plugin makes an API call to the secured database to pull the forms, decrypts them and displays them within the interface. From here you can generate a password protected PDF version of a form if you need to save or print it. While password protecting and encrypting the PDF helps secure it, if you choose to download the file to your computer you should do so to an encrypted hard drive to ensure you remain fully secured and compliant.