The Caldera Forms Authorize.net add-on version 2 can be used to create recurring payments with optional trial periods. Before beginning, make sure you have both the Caldera Forms 1.4 or later and Caldera Forms Authorize.net 2.0 or later plugins activated.
In addition, make sure you have your API keys handy. Finding your API keys is covered in the getting started guide. Also, keep in mind that production and sandbox API keys are not interchangeable.
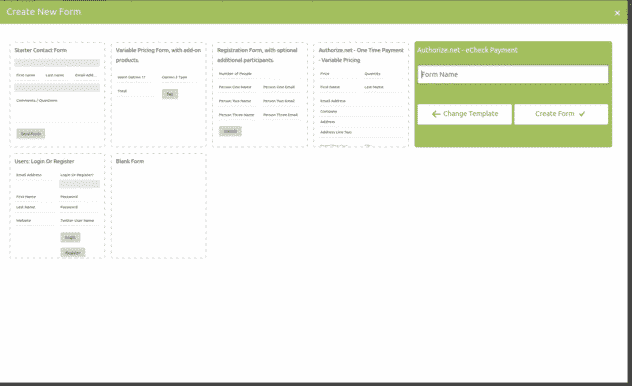
To begin, create a new form by clicking the New Form button at the top of the main Caldera Forms admin page. In the new form modal, select the Authorize.net – eCheck Payment template. Give your form a name and then click the Create Form button.
Setting Up The Form
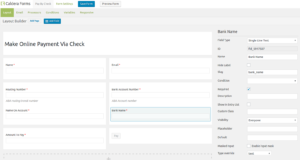
 This template gives you everything you need for your form. In this template, the amount to be charged is entered into a text field. You may want to change that to a hidden or calculation field or any other field. Just make sure to change the appropriate processor settings.
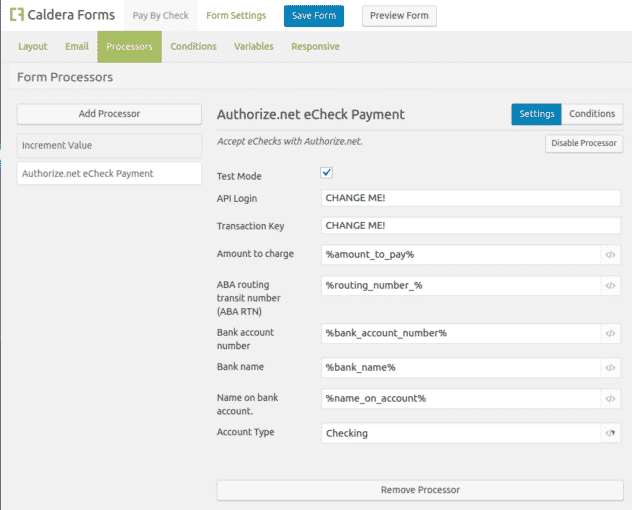
Once you have the form layout setup, you need to complete the processor settings. Click on the processors tab. You should see that the Authorize.net eCheck processor and the incremental value processors are set. Click on the Authorize.net eCheck settings.
 The first two settings is for engaging test mode. You should use this checkbox when using Sandbox API keys. If not, do not check it. The next two fields are API Login and Transaction Key. You must change these from the defaults with your own API keys.
The preset settings will work just fine if you have not changed your form fields in anyway. Keep in mind that in the Amount to charge field you can use a magic tag to set a field’s value as the price of an item. You can also hardcode the value of the charge.
