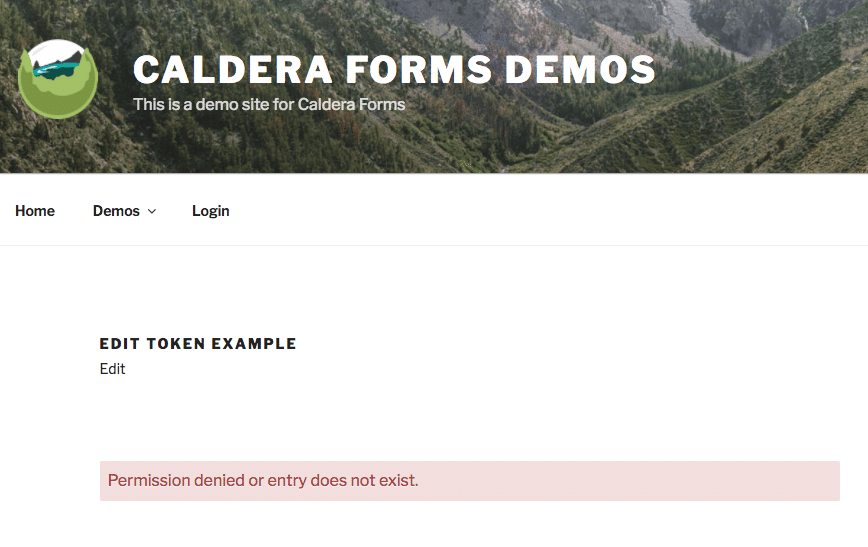
With our Connected Forms add-on, you can create sequences of forms, complete with partial submission tracking. For simple, one step forms, that allow for updating the saved values. Keep in mind, only the user who submitted the form will be able to edit their entry.
With Caldera Forms 1.5.8 or later, this is easy to setup from the form editor. Let’s walk through how this works. If you want to see the end result in action, check it out on our demo site.
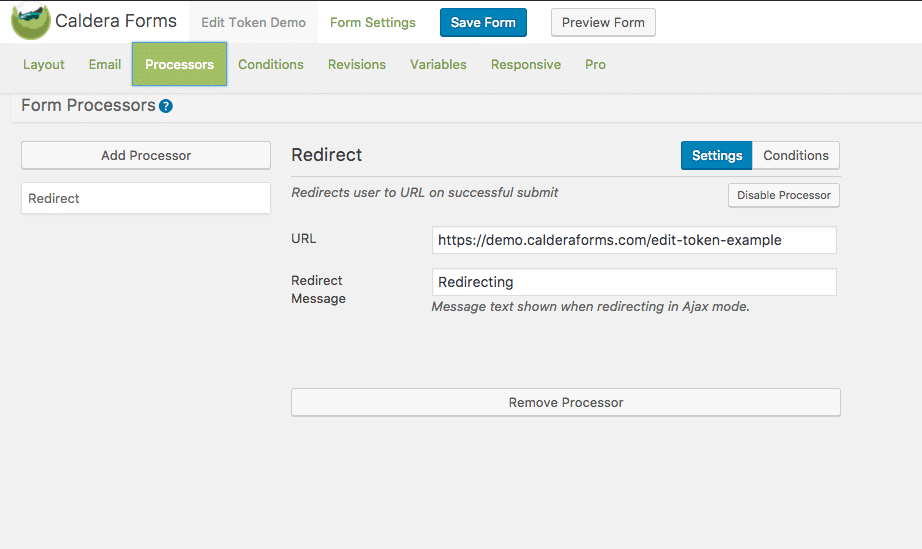
Add A Redirect Processor
 After the form is submitted, we’re going to want to reload the page with the form in “edit mode.” Let’s do the redirect first.
In your form, go to the Processors tab and click the Add Processor but. Select a Redirect Processor. Set the redirect URL to be the same as the URL of the form.
If you save your form now, you will see that it redirects to the same page, but it’s starting a fresh new entry, not acting as an editor for the entry. Let’s fix that in the next step.
Adding Passback Variables
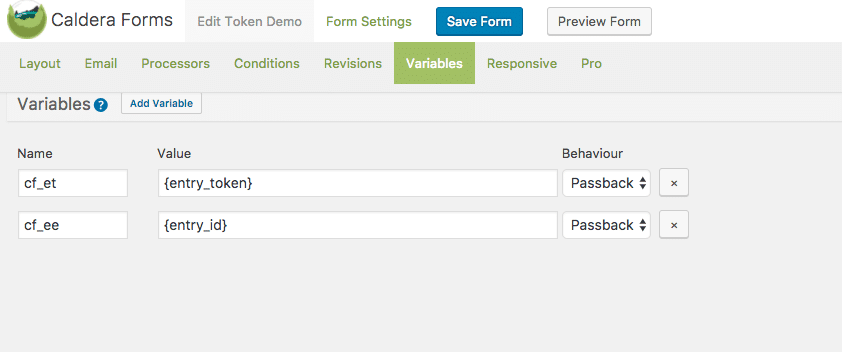 Caldera Forms has three types of variables you can add in the Variables tab. Passback variables are added as query arguments to the URL when doing redirects. That’s useful here as we need to pass an entry token and entry ID as query arguments when the form is reloaded to make this work.
In the variables tab, click the Add Variable button. You will need to add to variables.
For the first variable use “cf_et” as the name. For the value, use the magic tag {entry_token} and set the type to be “Passback”. This will pass the entry token to the next page.
For the second variable use “cf_ee” as the name. For the value, use the magic tag {entry_id} and set the type to be “Passback”. This will pass the entry ID that corresponds to the token.
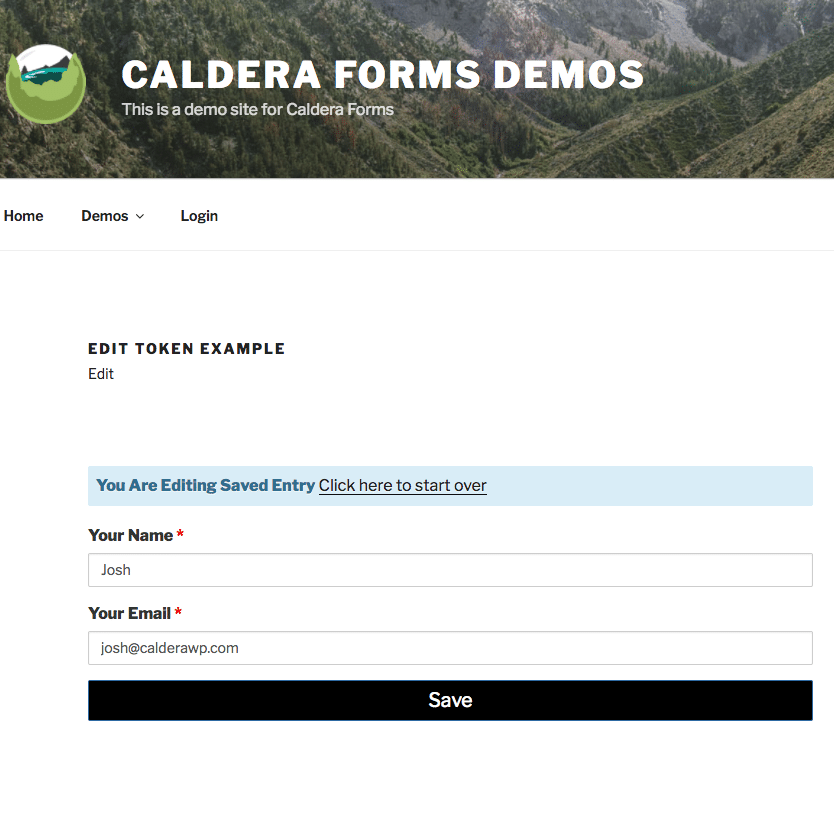
Now save the form. Then go to the page with the form on it and submit the form. It should redirect to the same page, with the query variables “cf_et” and “cf_ee” added to the end of the URL and you should be able to edit the entry.
That’s It
That’s all you need for an editable form. But we can make it a bit cooler and easier to understand for your users.
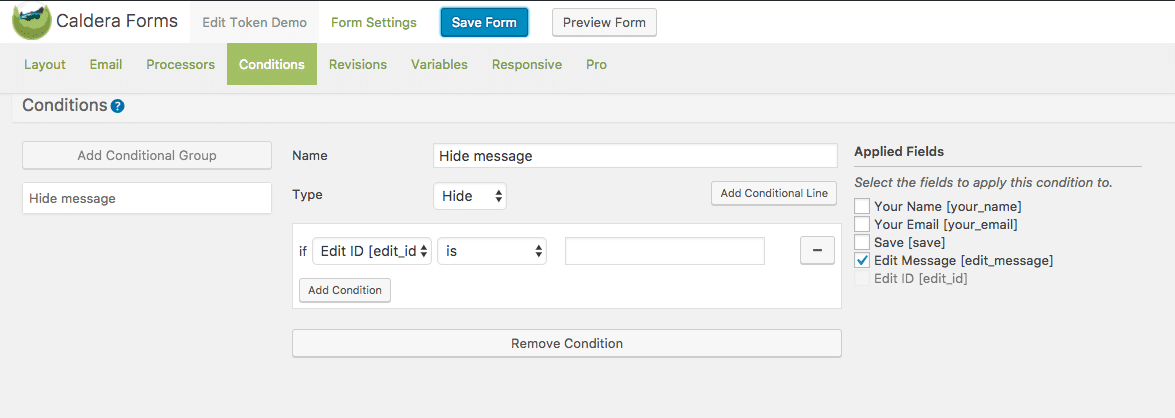
Adding An Edit Message

I think to improve the user experience, it’s helpful to add a message when the entry is being edited. For this we can add an HTML field that is hidden using conditional logic based on the query arguments set with the passback variables.
First, add a message that the form is being editted an HTML field. I used the HTML for a Bootstrap info alert, as I knew that it would look right in the front-end since Caldera Forms, by default, adds styles for that.

Then add a new hidden field to the form. For it’s value, use the magic tag {get:cf_ee} this will set the ID of the entry being edited in the field. Then we can do conditional logic based on if that field is empty or not.