If you own a WordPress online business and want to reach your visitors in an easy, yet effective way, then adding a contact form to your website or store can be one of the best options for you.
Caldera Forms is one of the best and most popular WordPress form builders. It allows you to create various types of forms for your business with so much ease. Moreover, with the introduction of the new WordPress Editor Gutenberg in its 5.0 version, Caldera was the first plugin to be “Gutenberg-ready“. So, If you want to add a contact form on your website and try out the new Gutenberg experience with your forms, we will tell you how to set up a contact page using Gutenberg and Caldera Forms. Take a look:
Creating A Contact Form
Before adding your contact form to a page, you should have a form created beforehand. If you don’t have any form, firstly create one. Let us start by creating a simple contact form. If you are a first time user, follow these steps to create a simple contact form.
Creating A Simple Contact Form
We will now be creating a contact form using Caldera Forms. You will be required to have Caldera Forms installed and your WordPress should be updated to the latest 5.0 version. Then follow these steps:
1. Getting Started
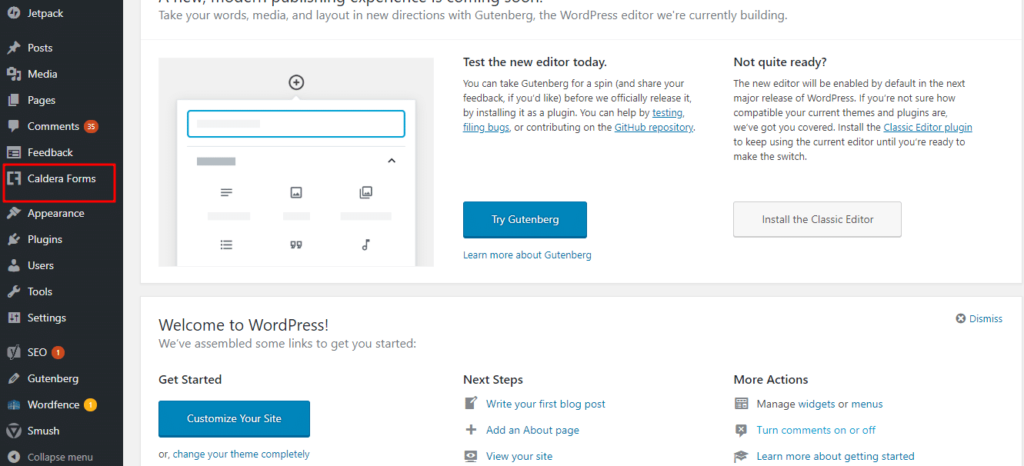
Firstly, visit your WordPress Dashboard and navigate to the Caldera Forms admin page. Hover over the Caldera Forms icon and click on Forms from the drop-down menu.
2. Create A New Form
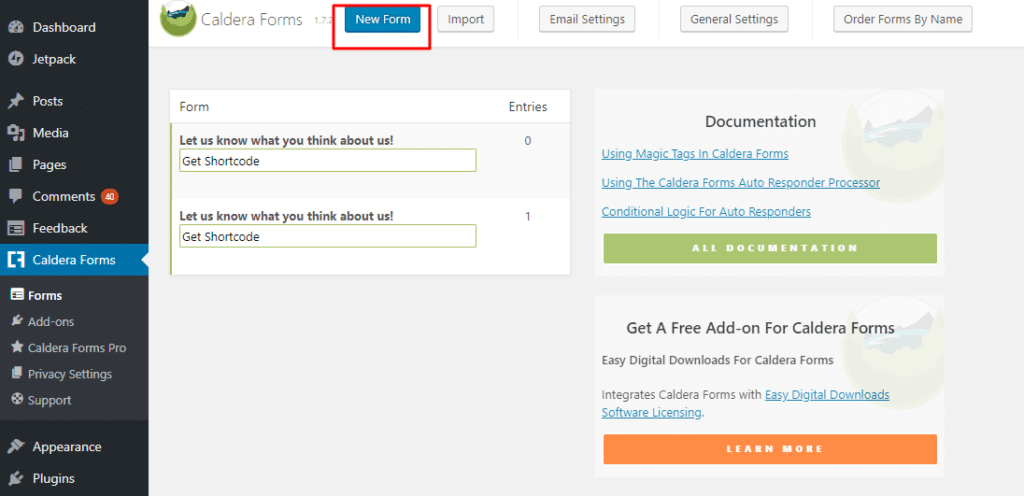
You can now create a New Form by clicking on the New Form button at the top of the page. A new pop-up window called “Create New Form” will appear.
3. Selecting Form Template
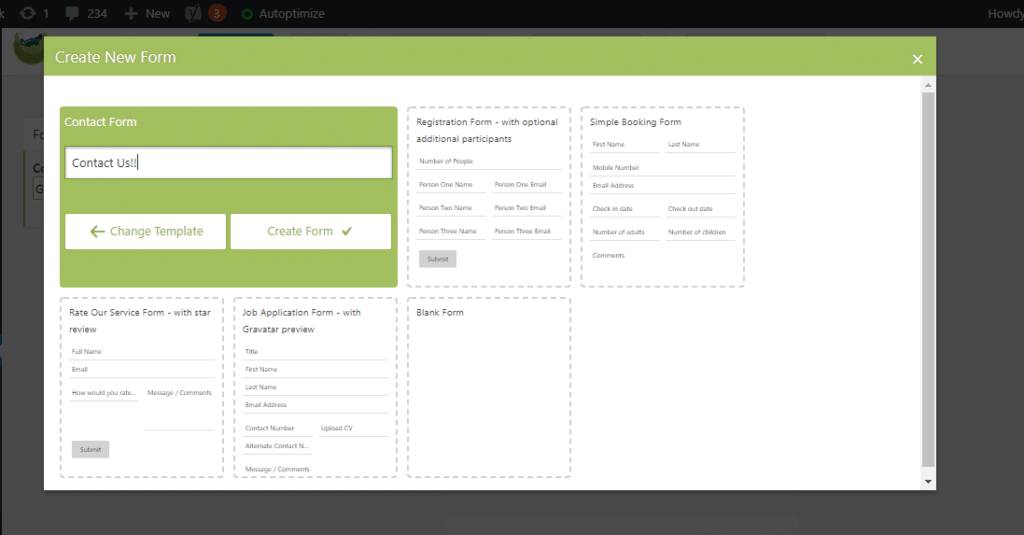
Select your form template from the popup window. Since we are creating a simple contact form, we will select the first template which is a “Contact Form“.
We will now add the form name. Say, I will name my form “Contact Us!” And now click on the “Create Form” Option.
4. Build Your Own Form
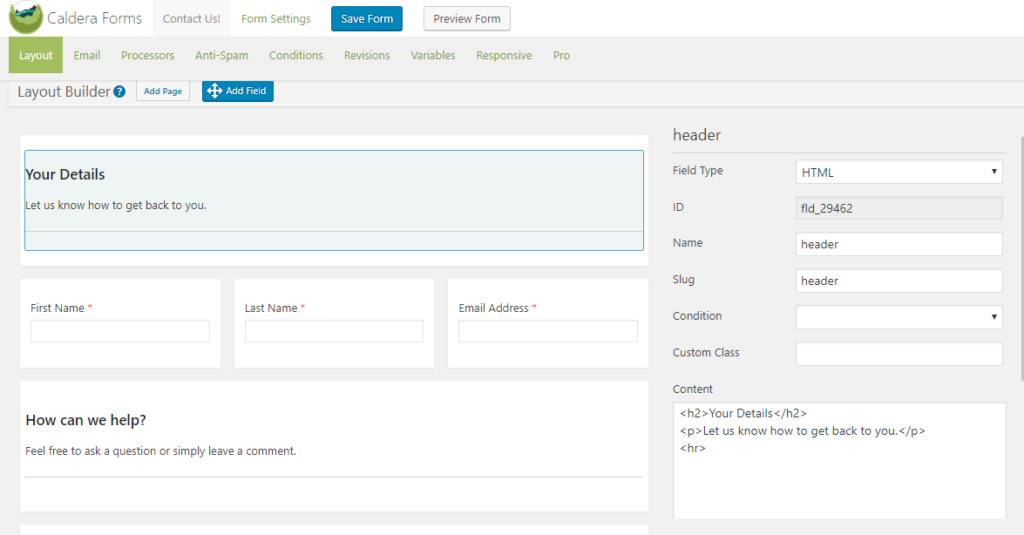
You will now be taken to your Contact Form.
If you want to add more fields to your form, you can check our Getting Started Guide here.
When you are done, you can now save the form. Your form will now be created.
Adding A Contact Form Block In WordPress 5.0
Our form is ready now. We will now be adding it to a page. We will tell you how to make a contact page with Gutenberg and Caldera Forms.
5. Using Gutenberg Editor To Add Form
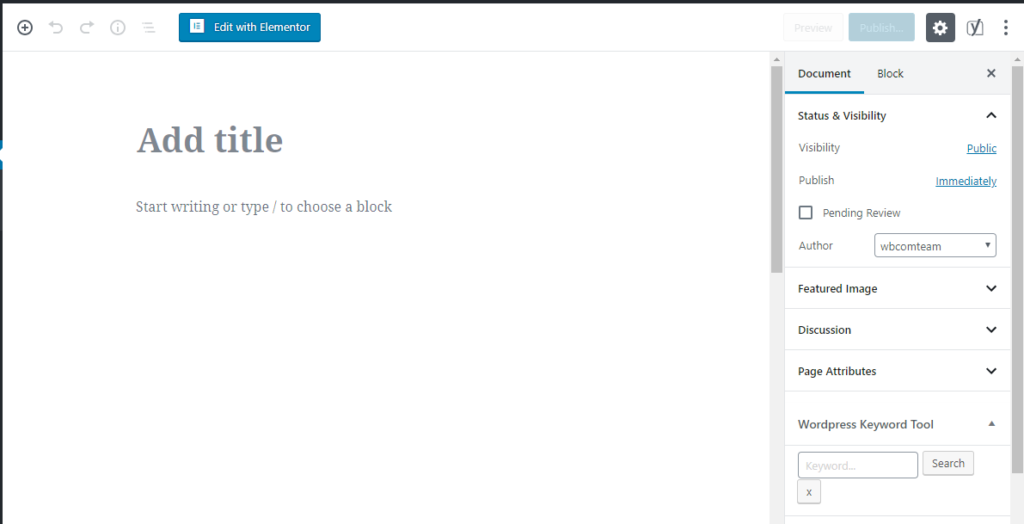
Firstly, we will be adding a new page. Go to Dashboard > Pages > Add New Page.
Now, give your page a name. We will be naming it as “Contact Us“.
Once you have given the name, click the plus icon to add a new block. You will find a block named “Caldera Form” in the Common Block section. You can also select Caldera Form by searching for it in the block search bar.
6. Choosing A Form
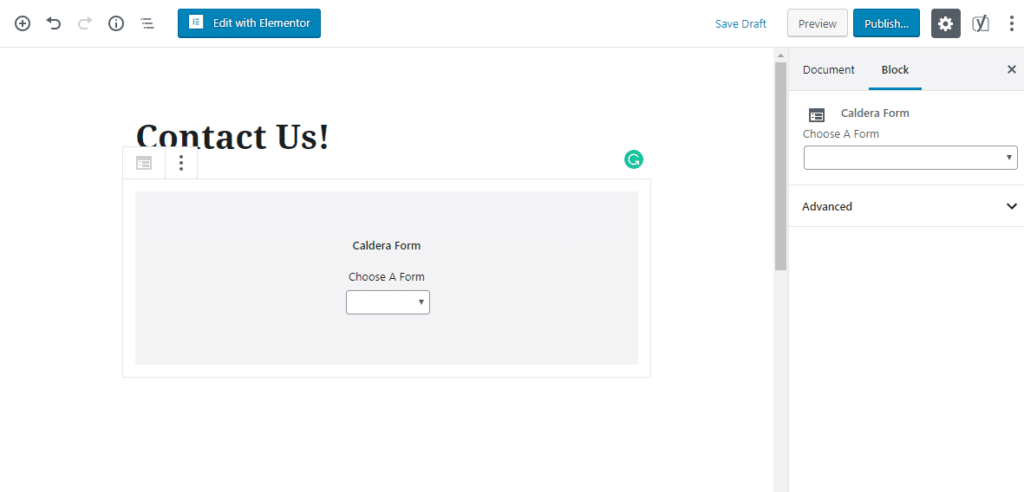
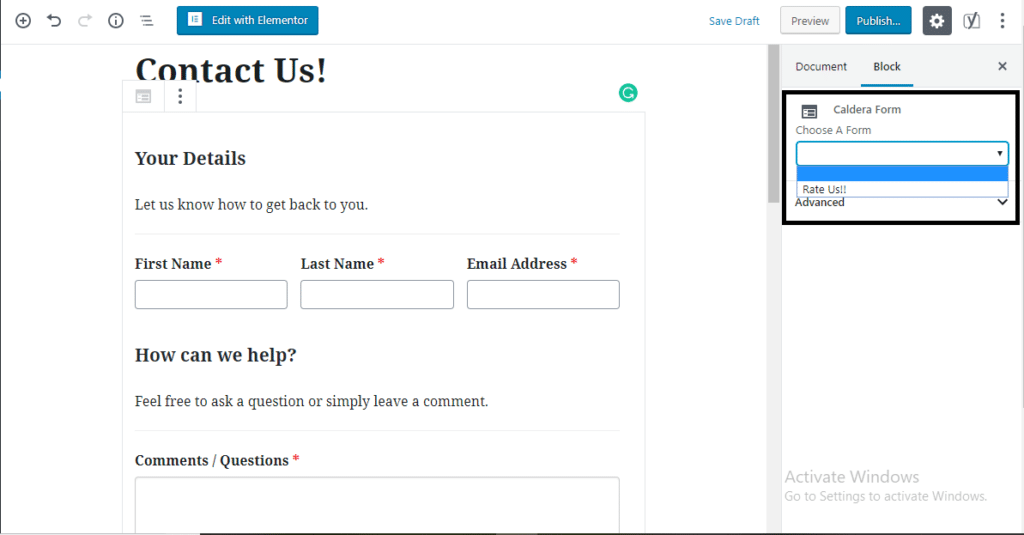
Once you choose a form, you will find a placeholder block with an option called Choose A Form. Now choose the Contact Us! form from the dropdown. Once you have selected the form from the drop-down shown in the placeholder, a preview of the form will appear like the one shown in the image.
7. Changing The Form In The Block
The Choose A Form setting will disappear once the form preview shows up on the page. This setting will be available in the block settings on the extreme right of the Gutenberg editor. This option will have the Block tab in the sidebar with the Caldera Forms Settings for the block.
Start Setting Up Your Own Contact Form Now!
Contact Forms are important if you want to bring more visitors to your website. They allow you to know the preferences of your customers in a much-simplified way. Therefore, if you are searching for a plugin that is compatible with this new Gutenberg block editor and allows you to create forms without any hassle, choosing Caldera Forms will be the best option for you.
Moreover, you can also add features like Form to PDF, Email Delivery Service, Message Layout options, Antispam and a lot more with Caldera Forms Pro and make your forms more versatile.

