This documentation explains how you can use one of the processors included in the Custom Fields add-on, the Custom Fields Post Metabox processor. Make sure you already have the add-on.
Read how to add the processor here.
Using the Custom Fields Post Metabox, you can add a custom field meta box in your post editor. In addition to your usual fields in your post editor and the fields from plugins you have, you’ll be able to add a custom form, display, and use it.
Adding The Custom Fields
In the form builder, add the fields that you want to appear in the post metabox. The field(s) can be anything you want.
Read how to add fields to your form builder here.
Working With The Processor


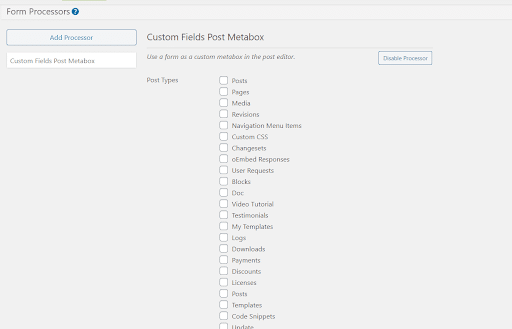
After you add the processor, you will see the processor settings similar to the above. You can choose the post types that you want to modify, the context, and the priority.
- The post types options shown here depend on the post types available on your website. You can select more than one post type to be modified. For the processor to be working, you should select at least one post type.
- The context is where the custom field will be shown in the post editor.
- Normal → it will appear on the bottom of your post editor
- Advanced → it will appear on the bottom of your post editor
- Side → it will appear in the sidebar of your post editor
- The priority will work if you have more than one custom metabox and you need to order the priority of the metaboxes. There are Core, Low, and High priority.
How Your Custom Metabox Will Appear
If you’ve set up the fields and the processor properly, you’ll see your custom metabox in the post editor of the post type you’ve chosen.
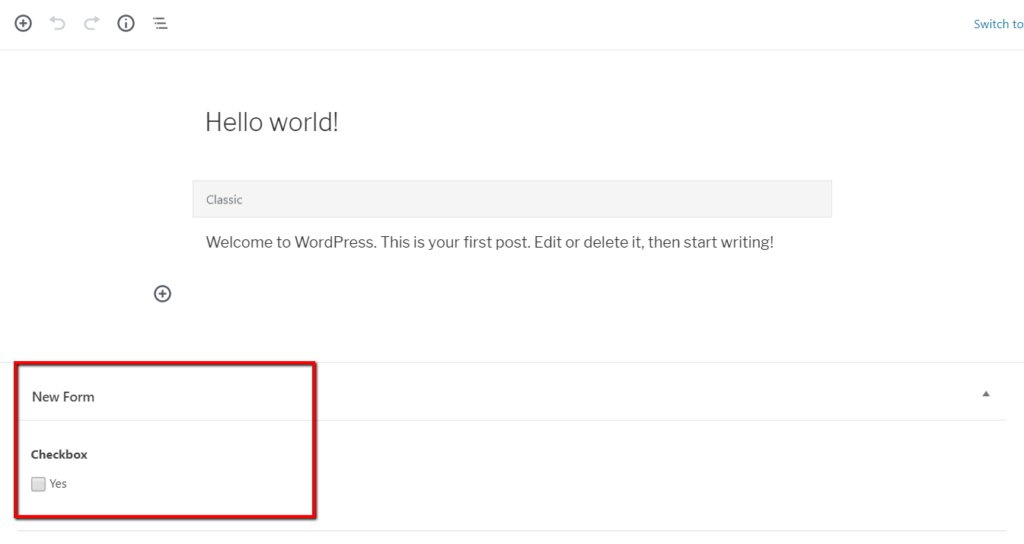
Because of Gutenberg, the Advanced and Normal context will produce similar display of your custom metabox. This is how a form titled ‘New Form’, with a checkbox and Normal context will appear on your post editor.

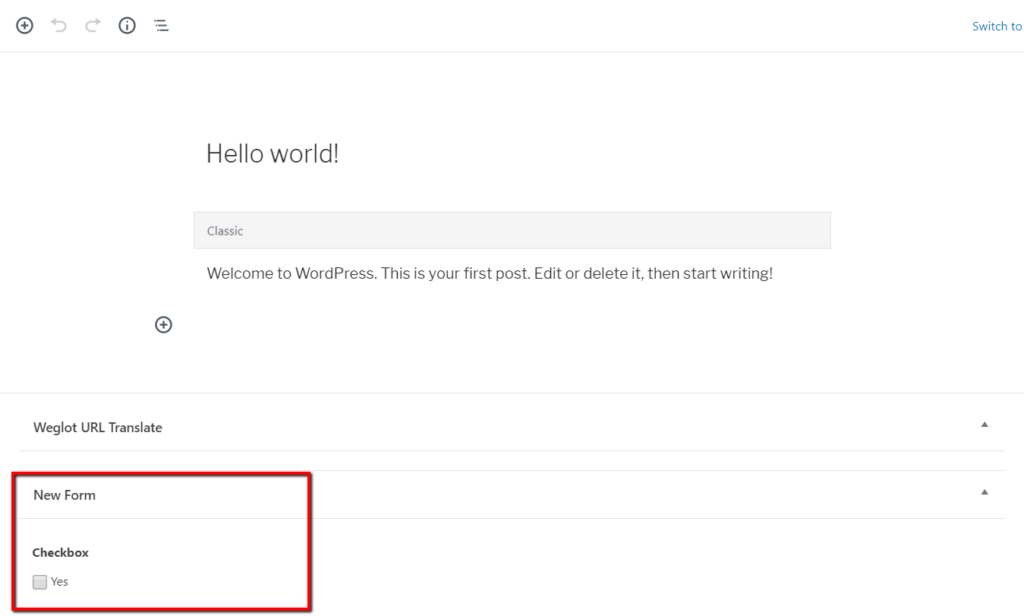
With Advanced context:

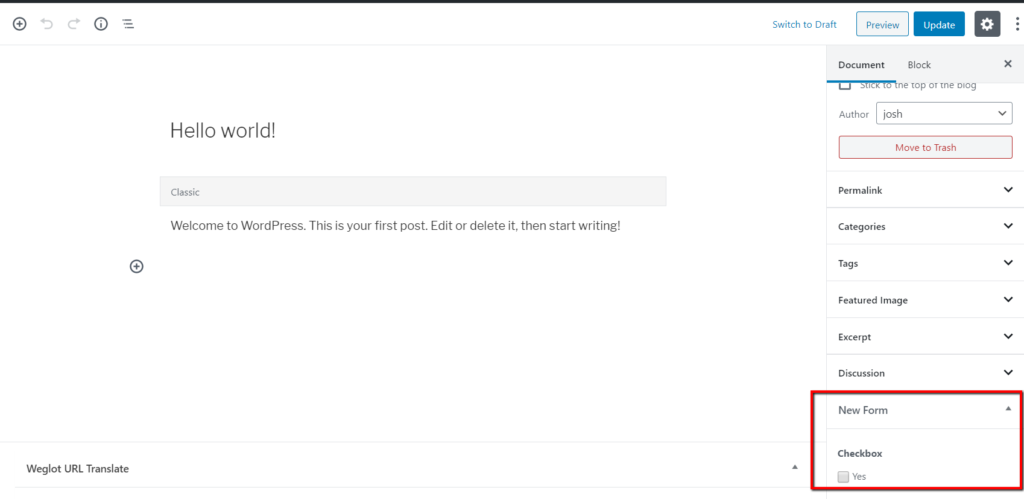
With Side context:

