
This article provides a brief introduction to using the Custom Fields for Caldera Forms add-on. Before following this documentation, make sure you already have the Custom Fields add-on and input your license key.
Custom Fields for Caldera Forms allows you to either add a custom field metabox in your post editor or to build a form for your visitors to create or edit posts from the front-end.
Adding The Processor
- Create a new blank form, then click ‘Processors’ tab that’s located at the top of the screen.
- Click the ‘Add Processor’ button. If the add-on is properly installed, you will see these two processors: Custom Fields Post Metabox and Save as Post Type.
- Click ‘Use Processor’ on the processor that you want to use.

This will add the processor to your form and give you settings for this processor.
Next, based on which processor you use:
If you choose Custom Fields Post Metabox, read how to use custom fields add-on to create a custom metabox in the post editor.
If you choose Save as Post Type, read how to use custom fields add-on for front-end post creation.
Disabling And Removing The Processor
In the processor settings, you have the options to disable and remove the processor. Disabling the processor will make the processor inactive, you can enable it again later. Removing the processor will delete the processor permanently.
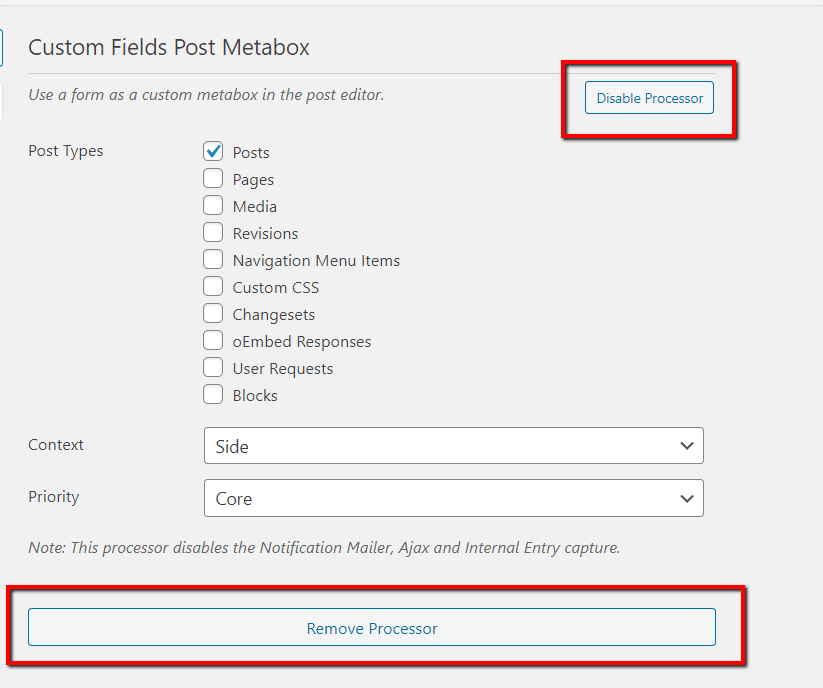
You can find the ‘Disable Processor’ button at the top of the settings, and the ‘Remove Processor’ button at the bottom.