
Knowing what your customers think of your services is very essential for any business. It helps a business to improve its services and to get higher productivity in the future. One of the best and easiest way to gather your customer’s feedback is by adding a service feedback form on your website where customers can tell what they feel about the services of a business.
Wondering how you can do this? In this tutorial, I will show you how. You will learn how to create a service feedback form using Caldera Forms on your WordPress website.
Creating A Feedback Form
Now, I will take you through a service feedback form that has different fields. You can very easily create this form using Caldera Forms. You will need to have a WordPress website with Caldera Forms installed. Then follow these steps:
1. Getting Started
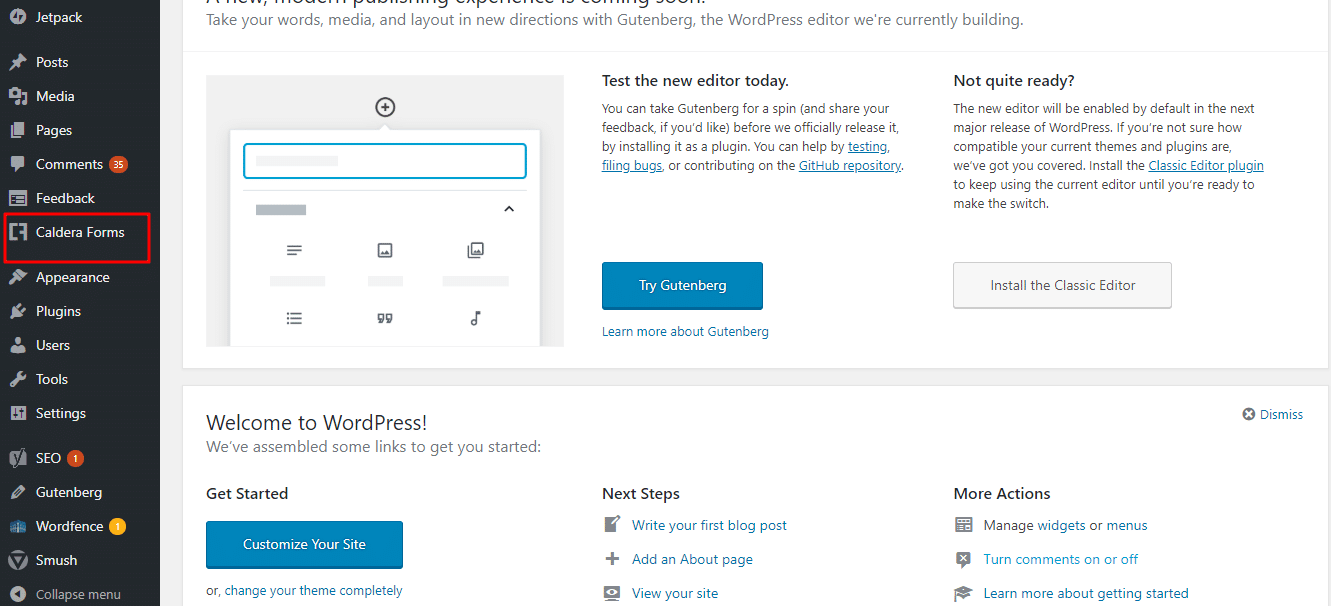
Go to your WordPress Dashboard and from there navigate to the Caldera Forms admin page. Hover over the Caldera Forms icon and click on Forms from the drop-down menu.
2. Create A New Form
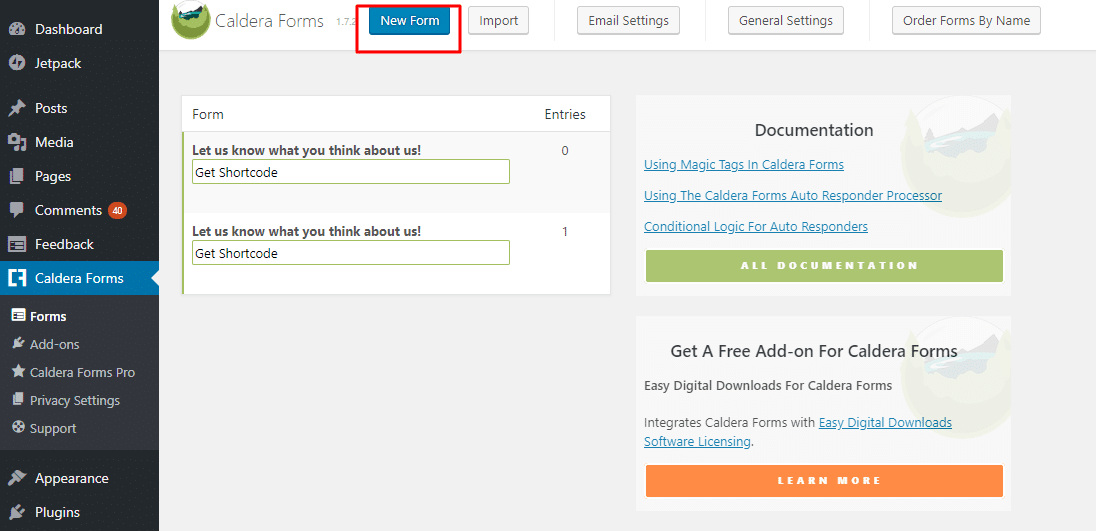
Create a new form by clicking on the New Form button at the top of the page. A pop-up window called “Create New Form” will open.
3. Select Form Template
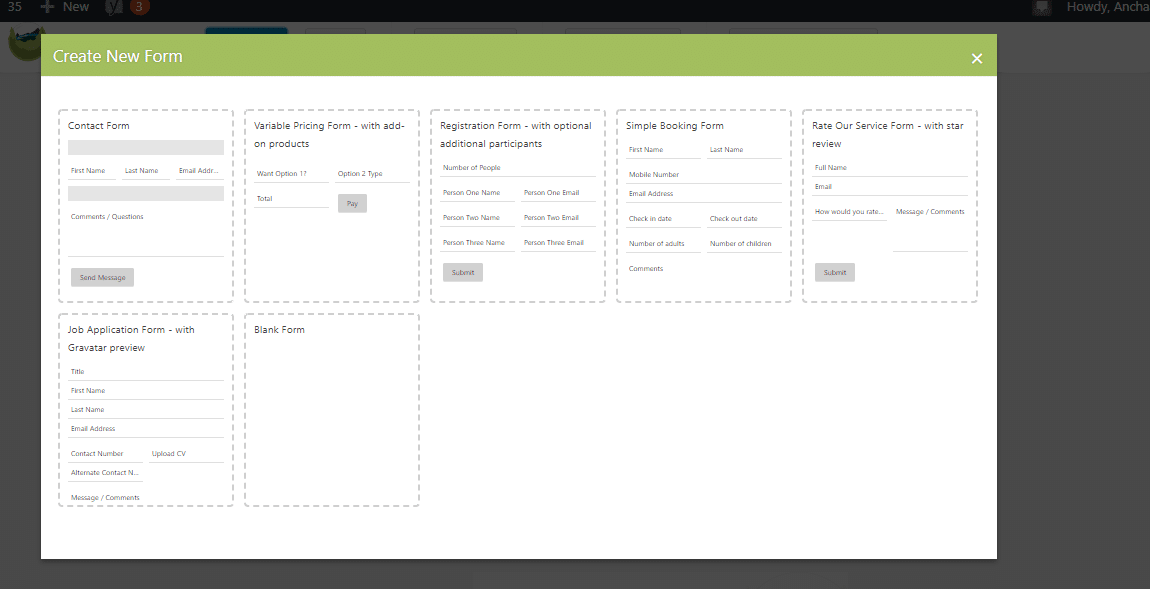
From the popup window, select your Form template. If you want to create just a rating form then you can select the pre-built template called Rate Our Service” but we will start with a scratch so we will be selecting a Blank template.
We will now add the form name. Say, I will name my form “Let us know what you think about us!” And now click on the “Create Form” Option.
3. Start Building Your Form

You will now be taken to Caldera Forms Layout Builder, where you can start building your form. We will start by adding Name field in the form. We will add the name as the First Name and Last Name then drag the Add Field option from the top of the builder and drop it where you want to add the field name.
(Why do you have to separate First Name and Last Name? See the answer here.)
As soon as you drop the option, a popup will appear. Now you can select the type of field you want it to be. Since it’s a name field, we will choose the type as Single Line Text.
4. Start Adding Your First Field
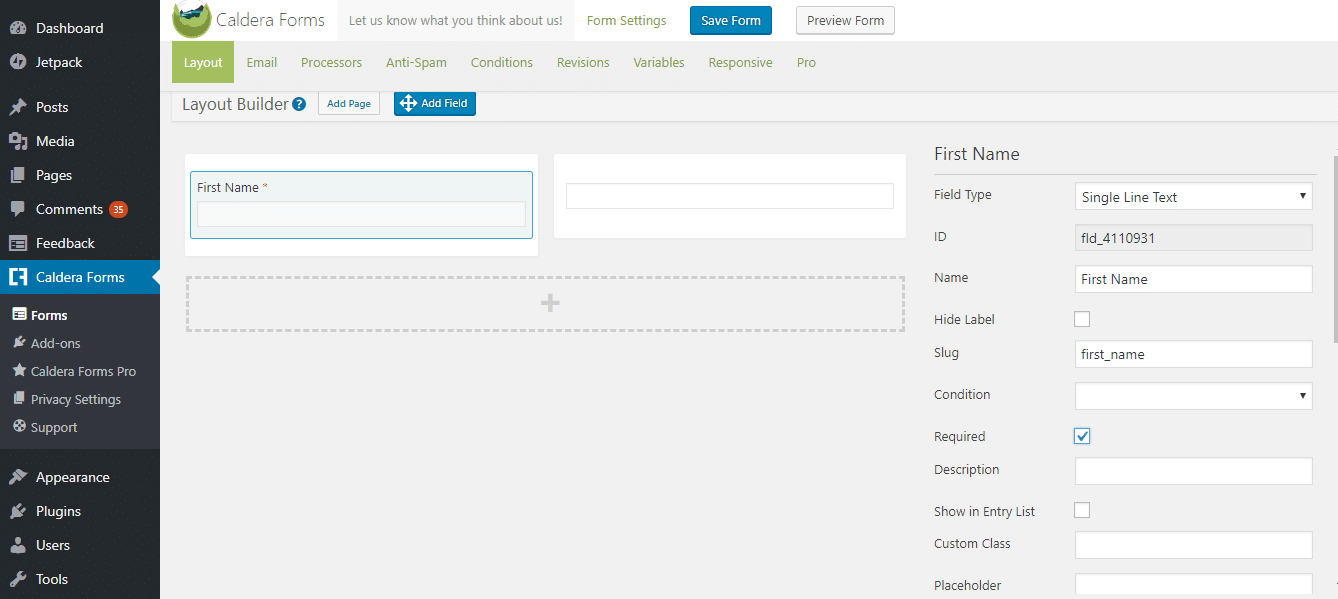
You can now edit this field from the right side menu appearing in the builder. Split the row into two sub-rows by clicking on the split rows option. Name the first row as “First Name”. You can add the name and slug from the Field Settings appearing on the right side. You can also keep the field as required by check-marking the Required box. Similarly, name the second row as the “Last Name” and add its slug as well as the required option.
The Field Setting option gives you many different options. You can customize your field with the help of these options. In these settings, you can perform many actions such as changing the field type, hiding labels, adding conditions, adding a description, adding a Custom Class and a lot more. This will help you to show your field in the way you want it to be displayed.
5. Adding Email Address To Your Form
Once done with adding the name, we will now create another field called Email Address. First, click on the Add button to add another row. Once added, drag the Add Field option and drop it below the Name Fields.
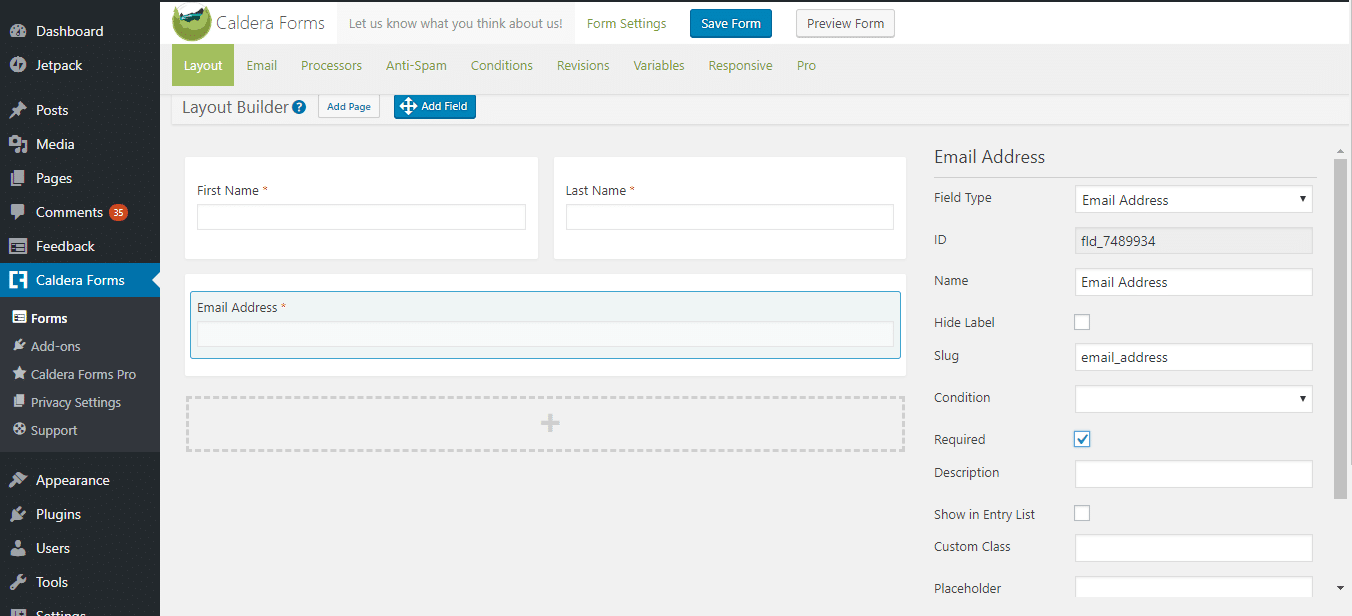
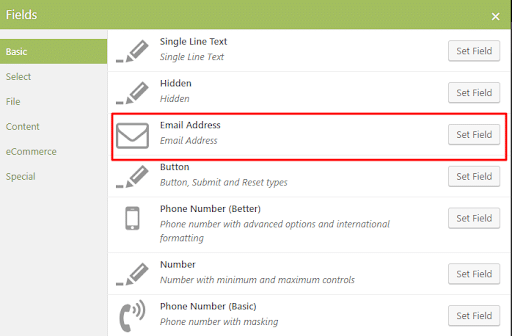
A popup box will appear. Select the Email Address field type from it and name it as Email Address from the Form Settings Option.
6. Adding Phone Number To Your Form
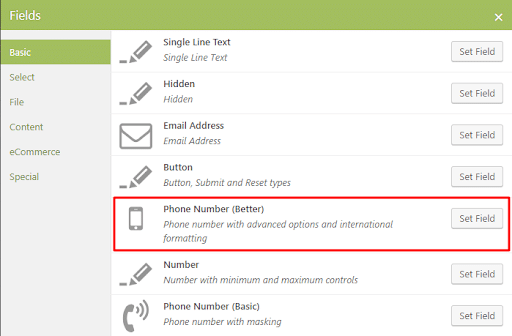
If you wish to know the mobile number of your users, we can add a Phone Number field. Drag and drop the Add field option and select Phone Number Better field. We have named it “Your Mobile Number”.
7. Adding Toggle Switch To Your Form
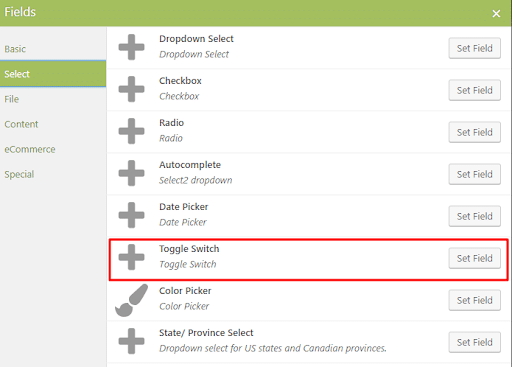
Now we will add a toggle switch asking the user whether they attended the event. Click the + plus button which will add a row. Now drag and drop the Add Field button. A popup will appear, select Toggle Switch field type from the Select type. This will add a toggle switch. Now we will name it as “Did You Attend The Event”?
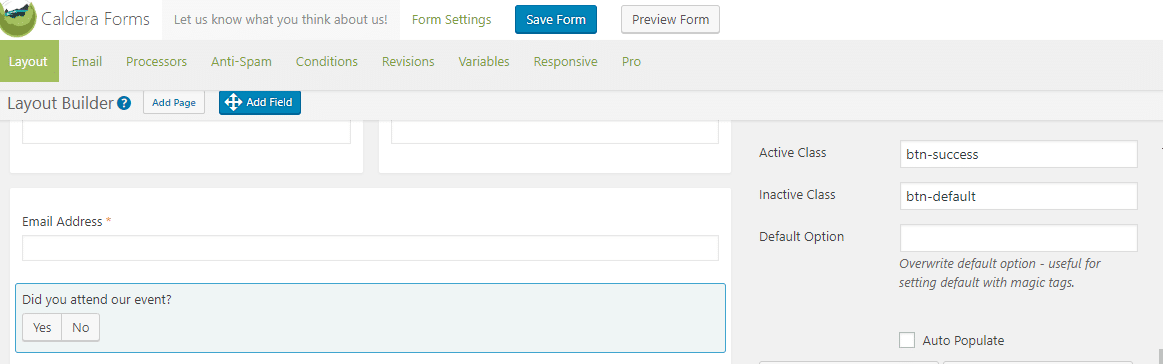
Here we will be giving two options namely Yes and No. To add these options, Select the Add option setting from the field. Add the first option as Yes and second as No. You can either make one of the default button or none of them as default button.
8. Adding Date Picker To Your Form
Next up, we will be adding another field called Date Field as it will help up to know the date user attended the event if there are more than one dates.
This field gives you an option to add a popup date picker for a form. You can use it for event registration forms, booking forms as well as a feedback form.
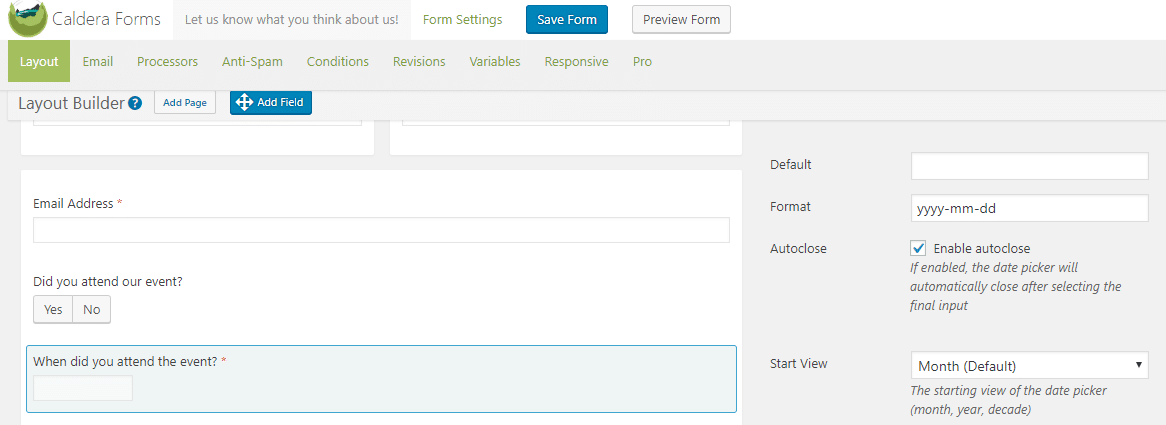
Date Fields also offer some special settings such as adding format for your date, autoclosing your popup, adding a start and an end as well change the language.
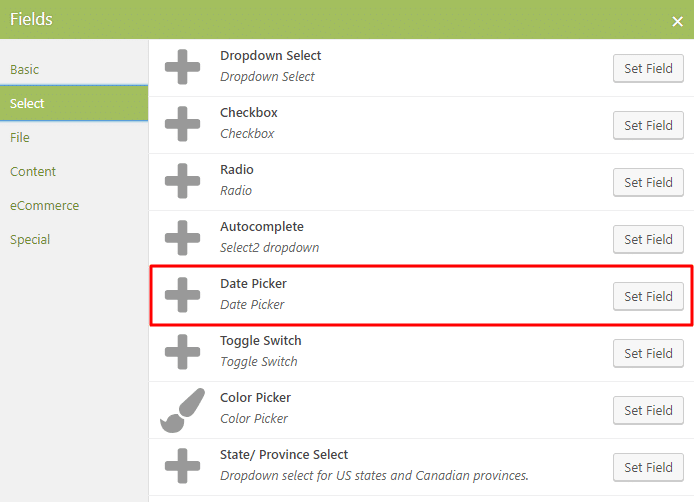
Follow the same process of adding a row then dragging the field. From the popup, select the date field from the Select Options. We will name this field as “When did you attend the event?”
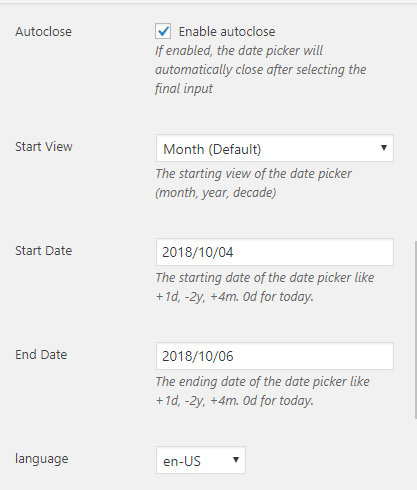
In date field setting you can select the Start Date and End Date of the event as well as change the Format of the date.
9. Adding Dropdown To Your Form
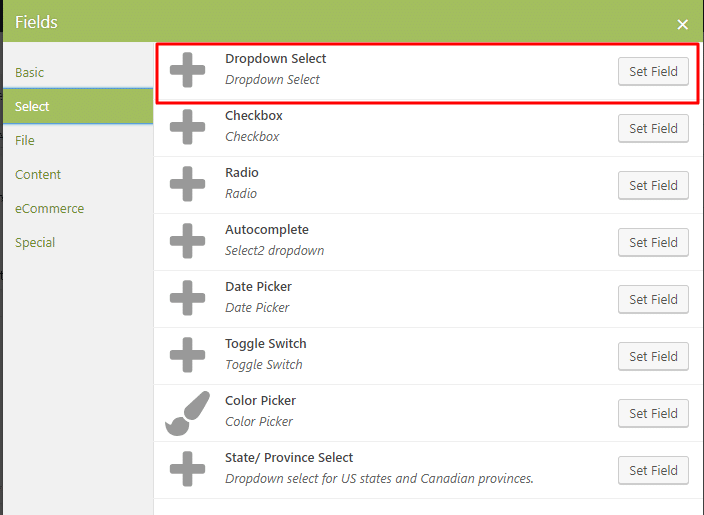
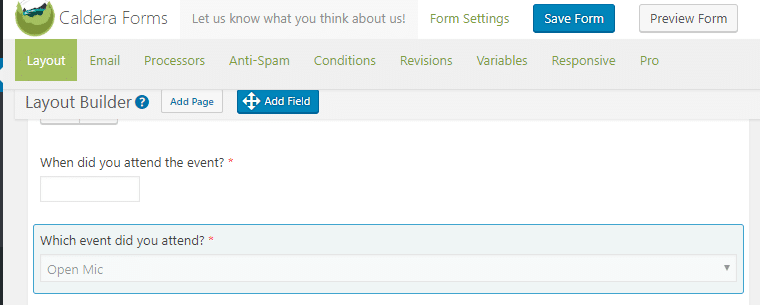
Now, if you have more than one event and wish to ask the user the event they attended then we can do so by adding a drop-down field for it. Drag the Add field button and from the popup select the Dropdown Select field from Select Option. Name this field as “Which event did you attend”?
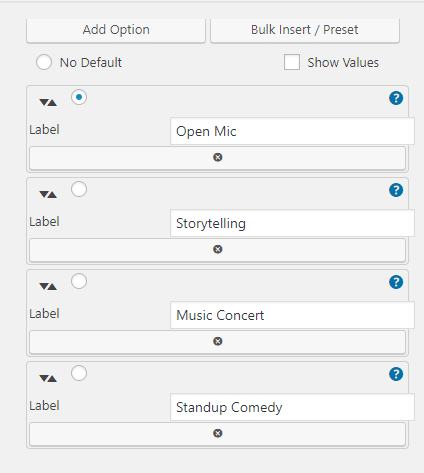
Here you can add the name of events in as Options. I have added four options namely:
- Open Mic
- Storytelling
- Music Concert
- Standup Comedy.
You can add as many options you want to add.
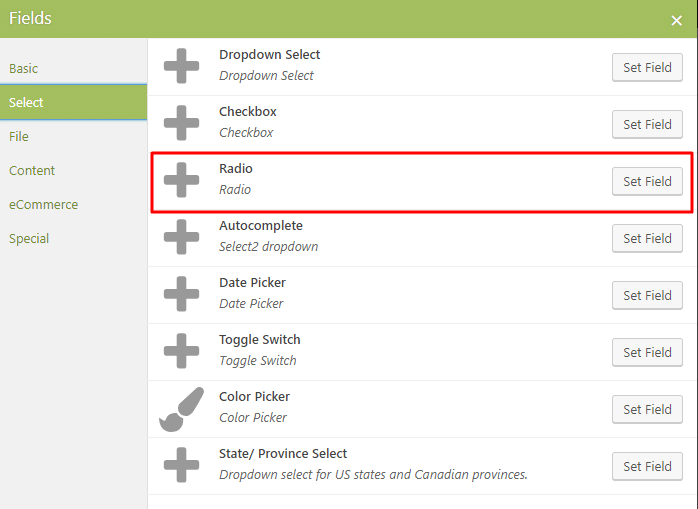
10. Adding Radio Button To Your Form
So, basically in a customer feedback form, we ask our customers a few questions about our services or any specific event they attended such as what they liked and disliked about our services or whether they have any suggestions for us.
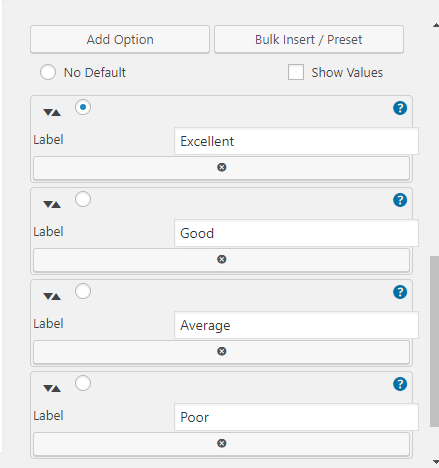
For this, we will select Radio Field from the popup. We will name it as “How was our service?”
Here I will be adding options as
- Excellent
- Good
- Average
- Poor
You can also add more options and make an option the default one.
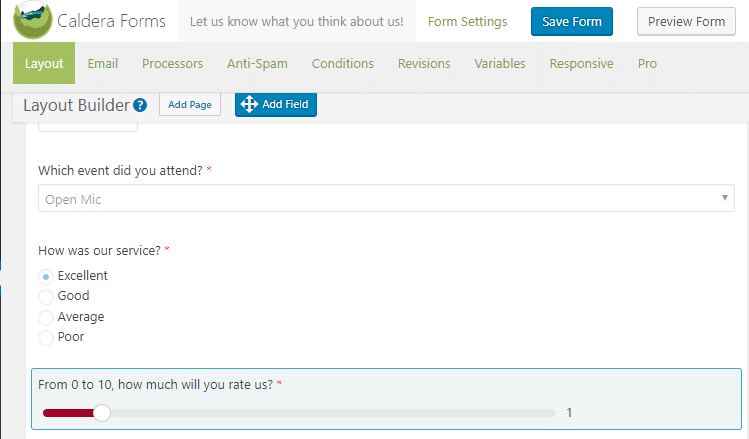
11. Adding Range Slider To Your Form
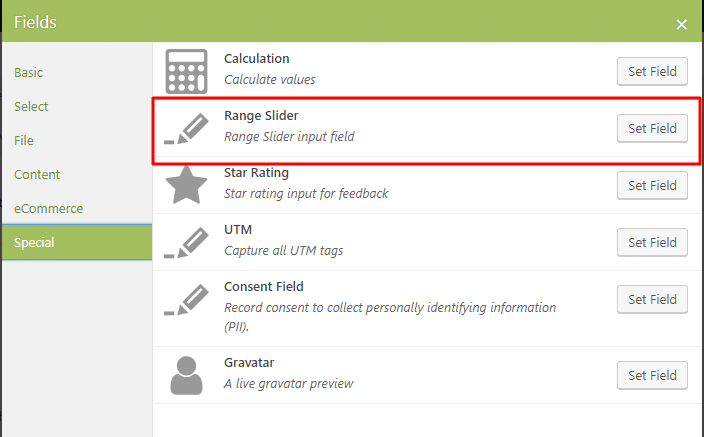
We can also add a range slider field asking our users to rate us over a range of numbers. Drag the Add Field and select Range Slider field from the Special type. You can also add minimum and maximum values. I will take 0 as minimum and 10 as the maximum. We will name the field as “From 0 to 10, how much will you rate us?” You can also select color options for your range slider. It will look somewhat like this:
12. Adding A Paragraph To Your Form
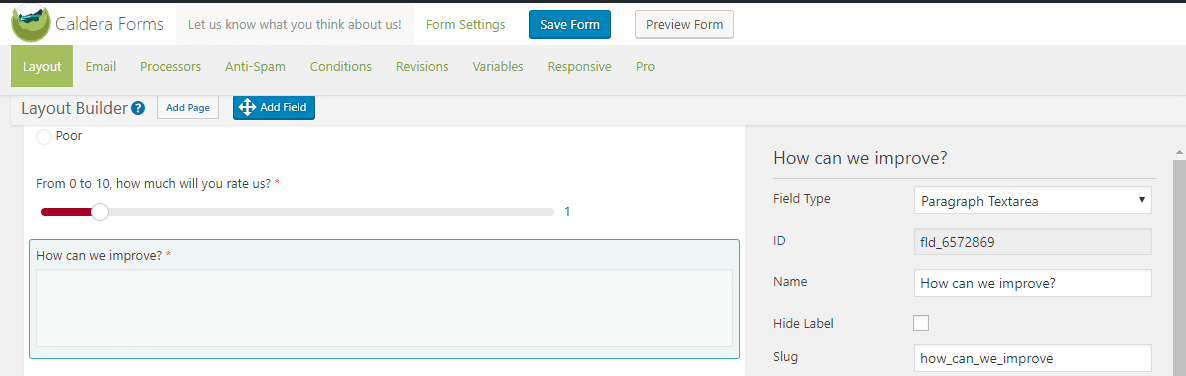
Next, we will be creating a suggestion field where we will be asking for suggestions. Just click on the add (+) button to create a row and then drag and drop the add field button in the row. A popup will appear and we will select Paragraph Text Area field and will name it as “How can we improve?”
13. Adding A Submit Button To Your Form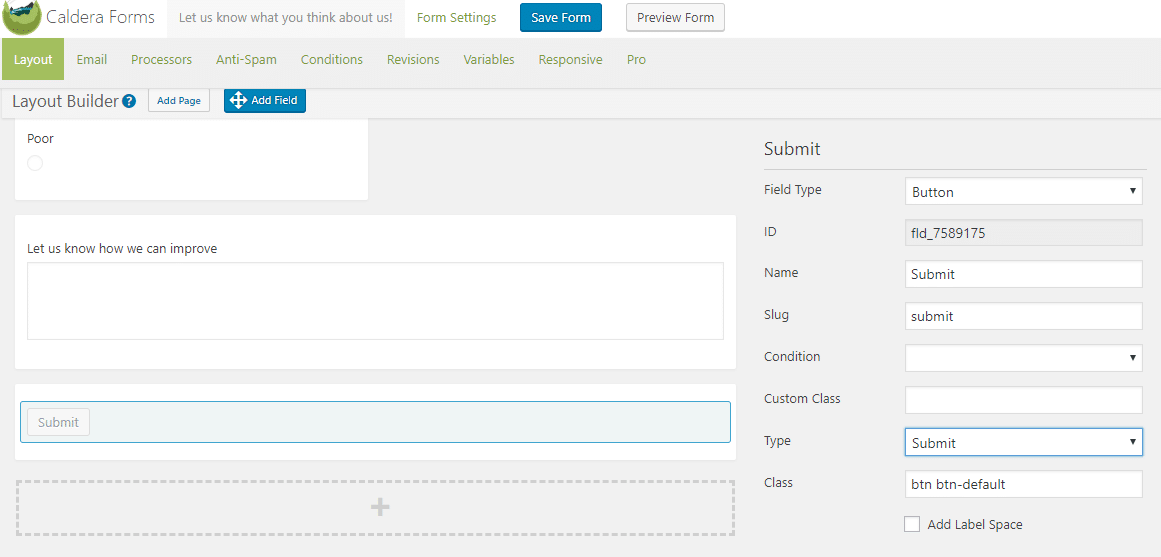
Lastly, we will be adding a submit button that will allow the user to submit the form. Click on the add (+) button to create a row and then drag and drop the add field button in the row. A popup will appear and we will select the Button type from there and will name it as Submit.
14. Your Customer Service Feedback Form Is Ready!
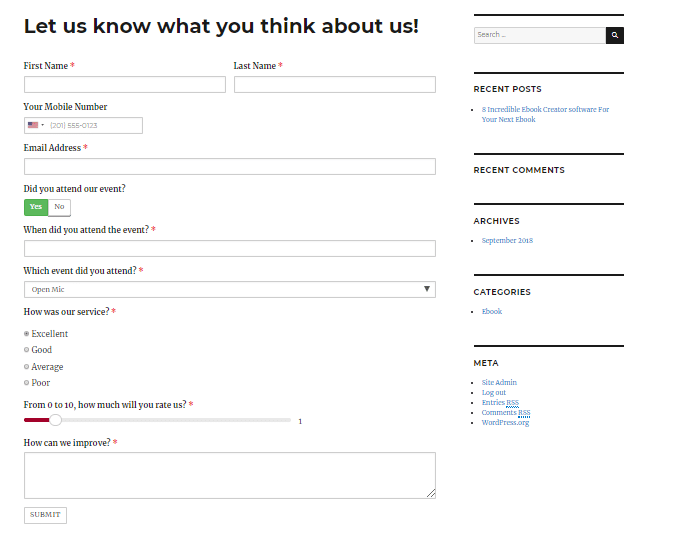
Your form is created now. Just save the form by clicking on the Save button on the top. You can also preview your form by clicking the Preview button and you will be able to see the form preview as well.
Creating A Service Feedback Form Cannot Get Easier Than This
Service feedback form becomes necessary to know where your business stands in the eye of your customers. Not only this, it is very essential in bringing new visitors to your site as you try to improve further based on the feedback received by your customers.
With the help of Caldera Forms, you can create a complete service feedback form which has all the fields that a business needs to know its customer’s feedback. You can use different types of fields in order to get a detailed review.
If you wish to add more features such as Form to PDF, message layouts, email delivery service, advanced antispam and form metrics, you can go with Caldera Forms Pro and make your forms more effective.