
If you need to create a web form that will accept electronic protected health information (E-PHI) in the United States you need to ensure that the form is HIPAA compliant or risk hefty fines from the HHS Office of Civil Rights.
E-PHI must be secured both in transit & at rest while any third party “business associate” such as a hosting company, web designer/developer, IT professional or anyone else that may be exposed to protected data is covered under a business associates agreement (BAA). This means your form data must be encrypted and secure both during submission and while being stored and can not be sent via unsecured email or stored in an unsecured non-HIPAA compliant hosting database especially if no BAA is in place with the hosting company.
Luckily the Code Monkeys team has recently released an API service and integrated WordPress plugin that will enable you to create fully secured and HIPAA compliant web forms with Caldera Forms quickly and easily using the following steps:
Step 1: Setup
- Install Caldera Forms from the WordPress plugin repository.
- Install the HIPAA Compliant Web Forms plugin from the WordPress plugin repository.
- Subscribe to the HIPAA Web Forms API service.
- In the WordPress admin dashboard click on the HIPAA Forms menu option.
- Click on the Settings tab, enter your license key, select Caldera Forms as your form builder, choose your preferred timezone, set a master reply email address, check if you only want to use the master email address as a fall back if no email added to your form (or leave unchecked to always receive submission notifications) & hit Save Changes.
- Click on the BAA link, sign and submit.
Step 2: Create A Form
- Click on the Caldera Forms menu option in the WordPress admin dashboard.
- Click the New Form button at the top
- Build your form just like any other form & ensure the following fields with the appropriate slugs exist:
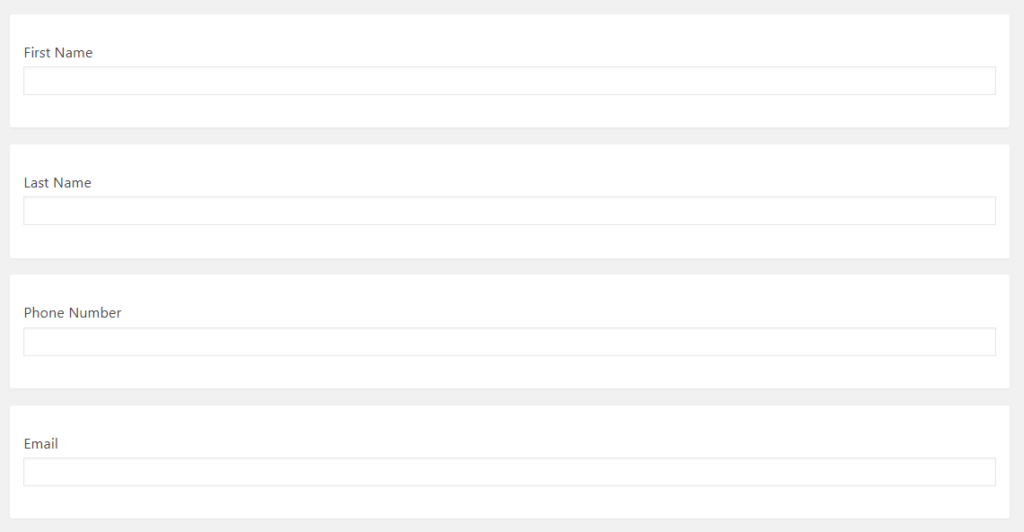
- first_name
- last_name
- phone
- If you have multiple locations & want to allow selecting a location add a select field with the office_location slug with each location set as a select option.
- If you would like a person submitting a form to select a specific doctor/user create a select field with the user ID of each user you want selectable as the select option value. Make note of the field slug to use in the form settings in step 15.
- Do not add a submit button, the HIPAA Forms plugin will add its own.
- Save your form
- Add your form to a page
- Click on the HIPAA Forms menu
- Click on the Settings tab->Form Settings tour tab
- Your form should appear with a checkbox next to it. If the checkbox is not clickable and a red error triangle shows next to your form you are missing one of the 4 required fields. Click on the red triangle to show what fields are missing. Otherwise check the box and your form will now be HIPAA compliant.
- Expand the form you just selected by clicking the blue circle icon with the triangle. This will show some form-specific options.
- Check whether or not to display the “drag ‘n draw” signature field.
- Check whether you want to display a “thank you” message after a form is submitted or if you want to redirect the person to a custom “thank you” page & set either your custom message or redirect URL.
- Select if you want the submitted forms to be viewable by everyone with the administrator or HIPAA user role, only for specific users or if you want the person submitting the form to select a specific doctor/user.
- If choosing only specific user check the users that can view the form.
- If allowing the submitter to select a specific doctor/user add the slug for the appropriate field on your form. If allowing users to select you must set the user Ids as the select option values mentioned (see step 5).

Step 3: Test
- Go to the page you placed your form on.
- Scroll to the bottom of your form & verify that the submit button, privacy agreement check box, HIPAA compliant badge & optional signature field appear. If using a multi-page form you will need to go to the last page to confirm this.
- Fill out your form and submit. Confirm that you received the “thank you” message or redirected to the correct “thank you” page URL.
- Log into the WordPress admin dashboard, click on the HIPAA Forms menu option and verify that your submitted form appears.
- Expand the form by clicking the blue icon at the left of the form with the triangle and verify that you form fields appear correctly.
- Click on the “Generate PDF” button to the right of your form, add a password with at least 6 characters into the password field and click the red “Generate PDF” button.
- Click on “View PDF”, enter the password you set & verify the form displays correctly.
- Close the PDF & close the modal window.
- The majority of your form layout and style is taken directly from the form HTML itself. If you need to further refine either the web or PDF version of the form you can do so by clicking the settings tab->forms css tour tab. From here you can add custom CSS to further style the forms.
Applying custom CSS to elements id. - To apply specific styles to the web version only prepend your styles with .cm-hipaa-submitted-form-fields.
- To apply a specific style to the PDF version only prepend your styles with .pdf-body. The API uses MPDF to generate the PDF version which limits the CSS you can use, you can view their documentation to see what you can and can’t use.

That’s it, you should now have a fully secured and HIPAA compliant web form. There is no limit to how many forms you can have and no limit to the number of forms that can be submitted.
If you don’t feel comfortable installing, setting up or building your first form you can opt to have Code Monkeys do it for you for a small fee.
If you need help or something doesn’t seem to work there is a built-in support ticket system with the plugin. Simply submit a ticket and someone from the Code Monkeys team will respond within 24 hours.